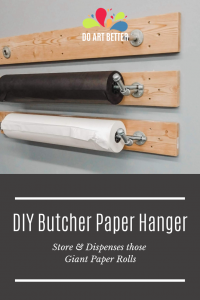
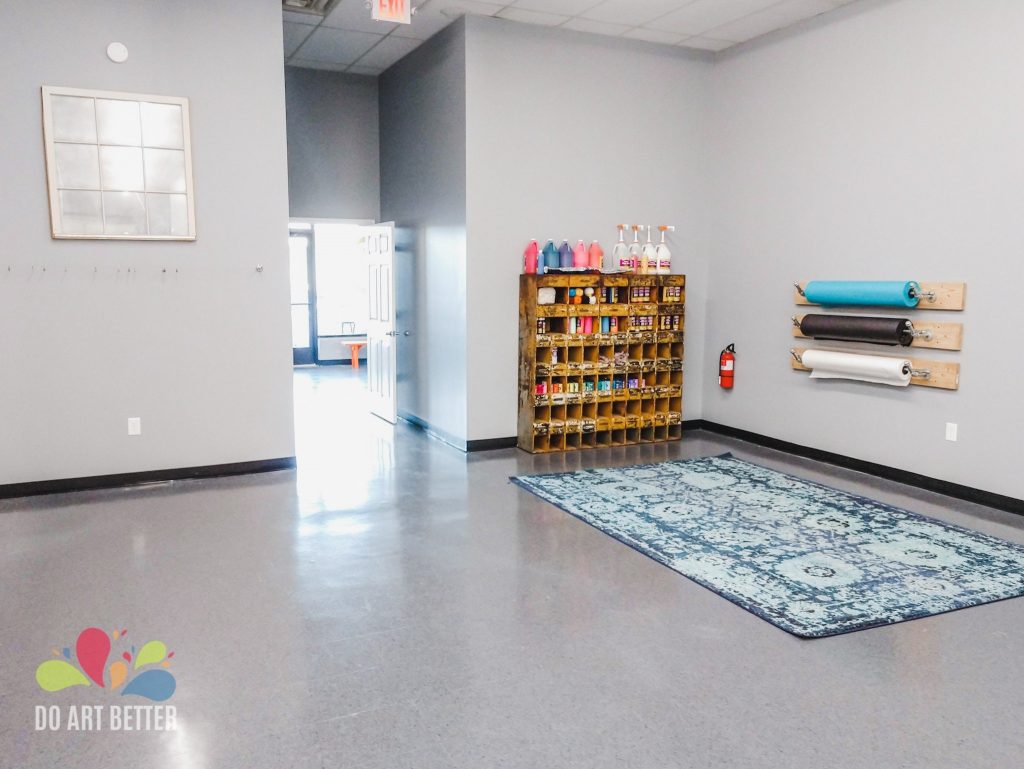
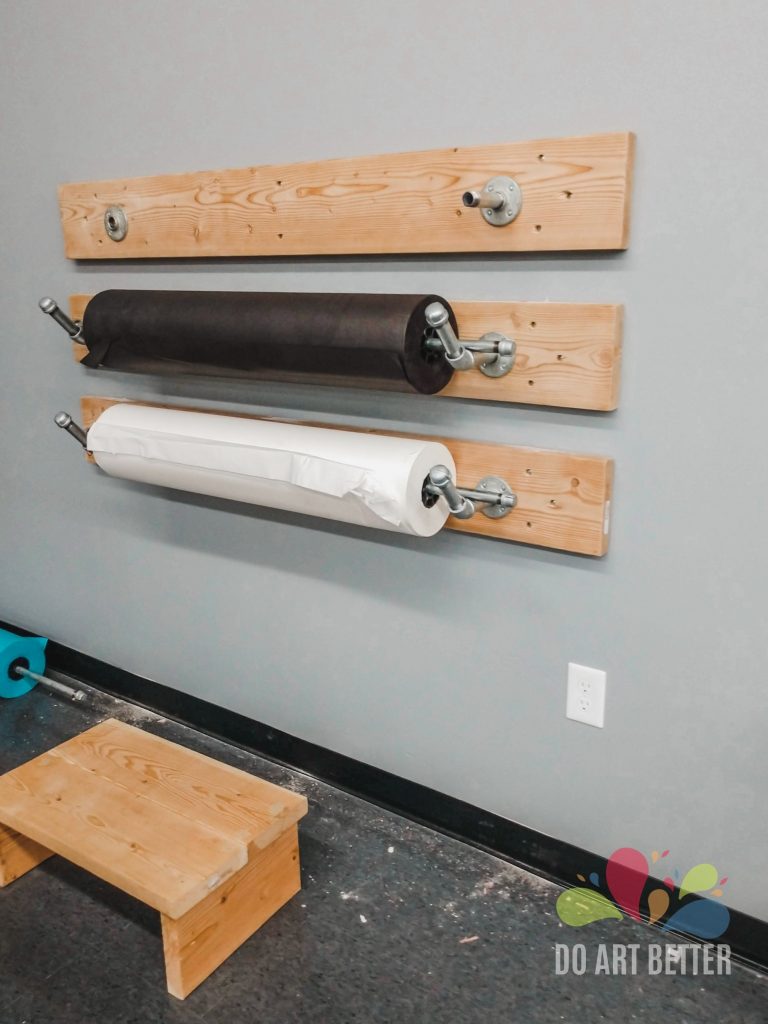
Hi everyone! Our newest art studio has been open for nine months, and I’m finally getting around to writing about some of our construction projects! First up, I want to show you how we built our own DIY holder for butcher paper. I love this storage and dispensing solution for those big, heavy rolls of butcher paper!
This post contains affiliate links.
I know you can purchase s for these paper rolls but they take up floor space and I didn’t want to be moving them around all the time. Couple that with the fact that most storage solutions were pretty expensive, and that naturally led us to creating our own solution.
I’m very pleased that our DIY holder for butcher paper here cost us only about $200.
DIY Supplies:
Wood boards – you will need one board for each roll of paper. We cut our boards to 60″ because are 36″ long. The wood is a common 2×8 (in actual dimensions, it’s 1.5 inches thick and 7.25 inches wide).
[ BTW, ]
Pipes – one full “set” for each roll of paper. We bought all our pipes at the hardware store already cut to the appropriate length and already threaded! See the breakdown below.
Galvanized Pipes (one set per roll of paper)
- floor flange, 3/4in (2)
- 45° elbow, 3/4in (2)
- cap, 3/4in (2)
- 3/4in x 4.5in pipe (4)
- 1/2in x 48in pipe (1)
- 1/2in cap (2)
Hardware (one set per roll of paper)
- Wall anchors (8)
- 5″ screws to go into the wall anchors or the wall (8)
- washers (8)
- 1in screws to attach the floor flanges to the board (8)
Putting it together
Step One
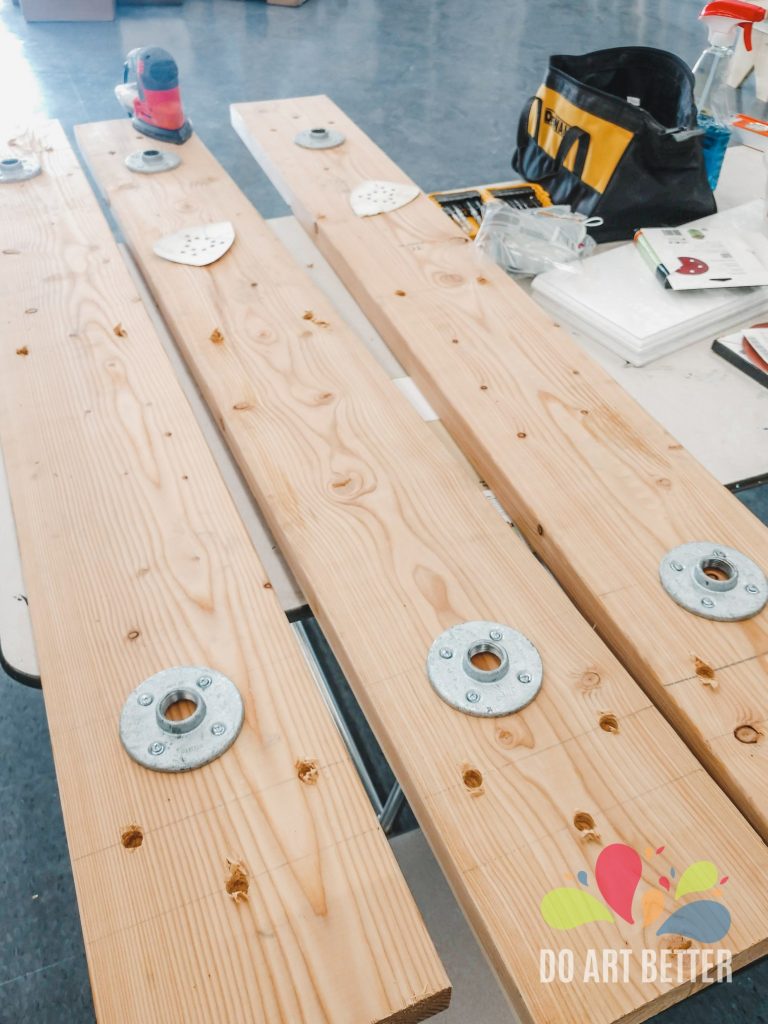
We began by cutting, sanding, and lightly staining our boards.
You could paint them too if you prefer that look. Personally, I love the raw wood + metal.
Step Two
We measured and drilled pilot holes for all the screws.
We positioned the floor flanges 40″ apart and centered them on the board both vertically and horizontally.
As far as the load-bearing screws that had to hold this sucker to the wall, we decided to use three on each end (outside of the floor flange) and two right in the middle. If you have the option to drill into studs instead of wall anchors, you might want consider positioning screws based on their locations instead! (Our building is metal studs so that is an option for us)
Miss Sam got fancy and sunk our wall screws down into the boards using a large drill bit. Totally not necessary but she is advanced like that 😉
Step Three
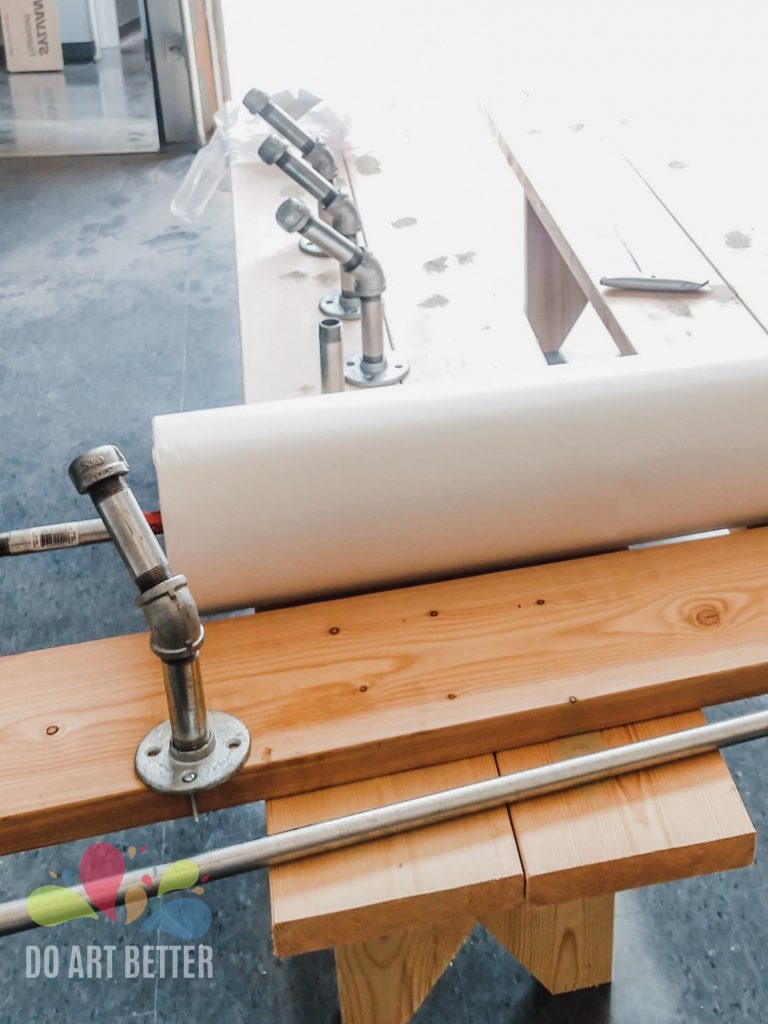
Next, we attached pipes to the boards. We began with the floor flanges, and then attached the remaining pipe assembly to the floor flanges.
Step Four
For the final step, we screwed everything to the wall. This was a two person job.
We used a level to position our boards and marked their position with a pencil. Then, we used a small drill bit to drill through our pilot holes in the board and make a mark on the wall where we needed to put the wall anchors.
After pounding in the wall anchors, we returned the board to the marked position and screwed it into place using the giant screws and washers. We only missed the wall anchor a few times! When that happened, we just had to back out the screw and try to re-position the board more accurately. Out of 24 chances, I figure three misses isn’t too shabby! Good thing no one is seeing the wall behind these boards, right?!
Hanging the butcher paper
Once the boards and pipes were up, all we had to do was add the paper. The long 48″ pipe slides right through the center of the roll. We attached the caps on the ends which keep the paper from sliding off the pipe and keep the pipe from shifting out of the cradle.
The paper dispenses easily right from the wall, but its also really handy sometimes to just carry the whole roll (on the pipe) where you need it.
Overall, I couldn’t be more pleased with our DIY solution! This butcher paper holder is JUST what we needed on our walls!
Got questions for me about this project? Leave them in the comments or send me a note on social. I’ll do my best to answer! (Keep in mind…not a contractor or builder…just an artist who will DIY anything…)
Pin this for later:
