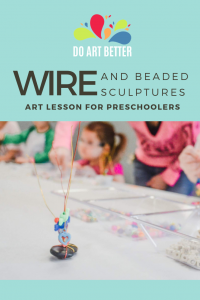
Here’s another art invitation for sculpture lessons; this one uses WIRE! (The best part?! 100% of the supplies for this wire sculpture project for preschoolers can be purchased at the dollar store.)
This post contains affiliate links.
What is an “art invitation”?
Simply put, an invitation is a set of materials offered to the students where there is no end product in mind and no wrong way to explore and use the supplies. I like to think of an invitation as a challenge for the kids and a surprise for me!
Setting up your sculpture invitation
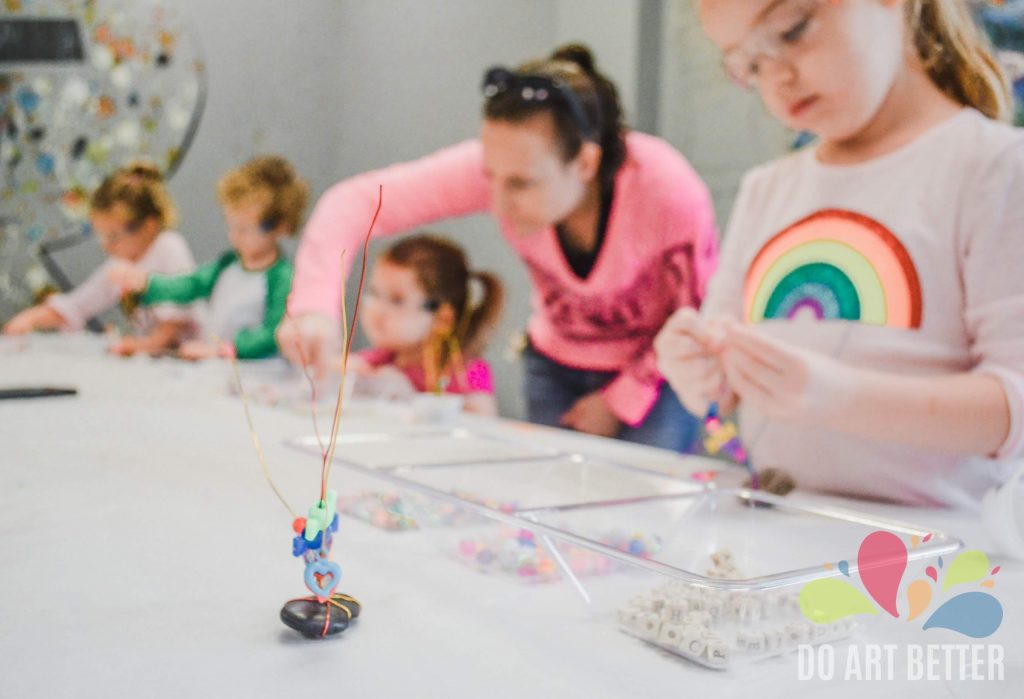
Curb appeal matters for art invitations. They have to be inviting, right? So, clear the table, get out an art tray, fill the pretty containers, and set-up a work station for your artist.
Art Supplies
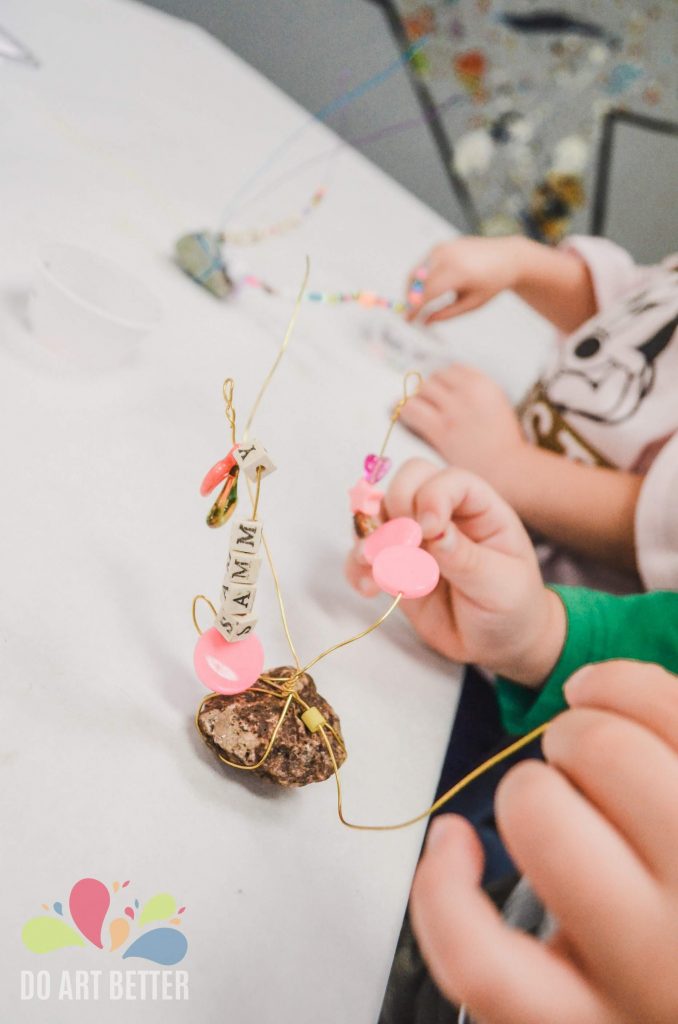
- Aluminum wire
- Sculpture base/weight (see below for options)
Tools:
- Wire cutters or scissors
- Safety goggles (optional)
Wire
The wire can be any easy-to-bend aluminium wire. Just make sure the thickness of your wire and the hole size of your beads match up. This is the wire we use in the studio. and even pipe cleaners from the dollar store works well too. Cut your wire into pieces about 8-12 inches long; you’ll need 4-8 pieces per kiddo.
Beads
Any beads you have around the house will work as long as they thread on your wire. We use from Discount School Supply. Dollar store work too!
Want to make your own beads? Try these paper beads made from magazines!
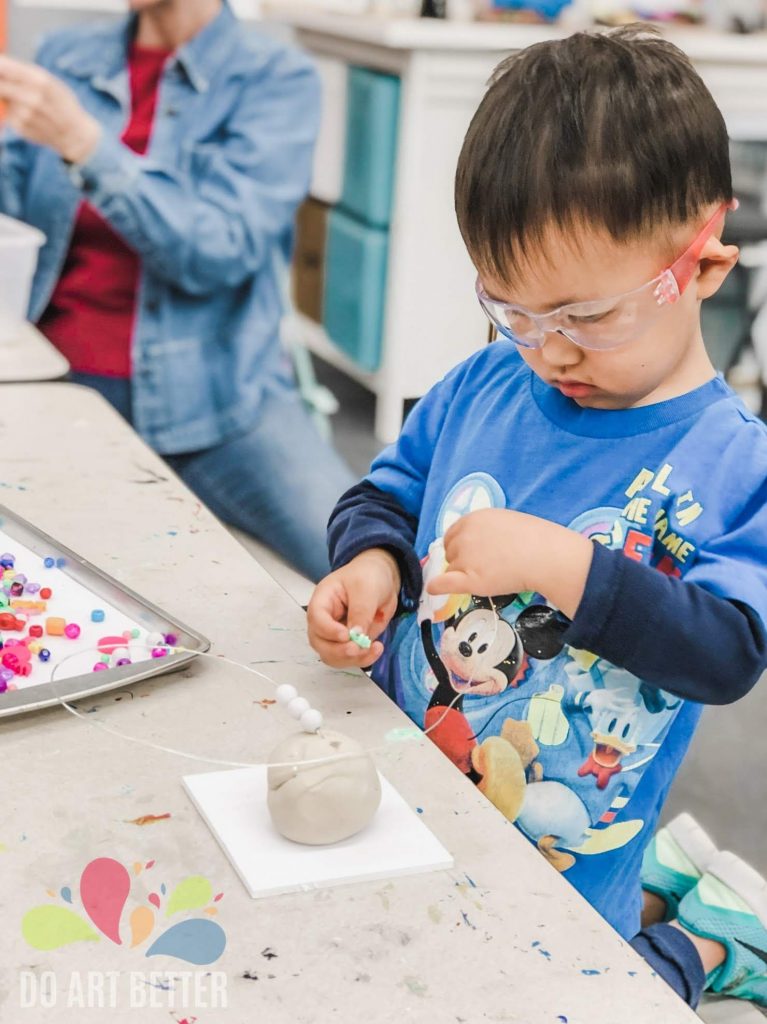
Base
The base of your sculpture can be clay, playdough, salt dough, or even a rock. The clay or playdough is my favorite. This year, Miss Sam offered rocks as a base and it definitely added a new challenge.
Here’s our favorite playdough recipe.
Here’s our favorite salt dough recipe.
A note on safety
In the studio, we usually have a GROUP of young artists working with wire so we all wear safety goggles to protect our eyeballs. Our students love them; these are the ones we have.

Making Your Wire Sculpture with Your Preschoolers
Using the supplies provided, artists can create their sculptures.
I love teaching side-by-side. You may want to model some of these skills:
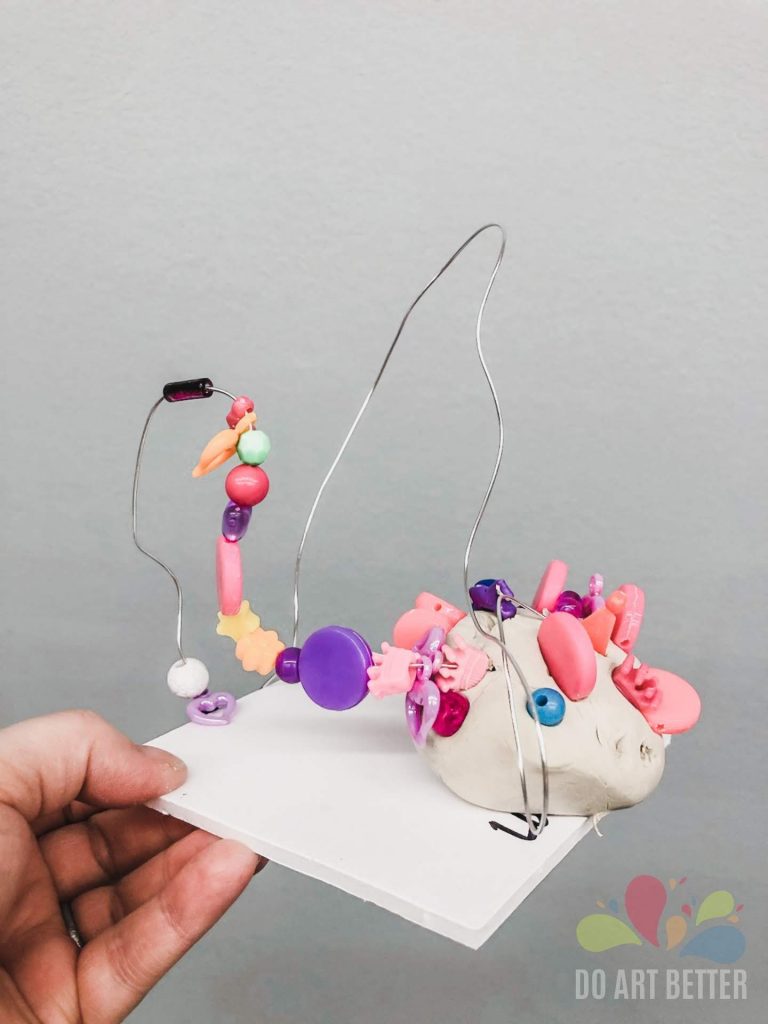
- Looping the wire with both ends stuck to the base
- Twisting two pieces of wire together
- Coiling the wire around your finger (or a pencil)
- Creating recognizable shapes from the wire
- Securing a bead to the end of your wire (so the rest of the beads don’t slide off)
Finishing your Wire Sculpture
If your artist wants to keep his/her artwork, I suggest you keep it on paper plate or piece of cardboard until the dough/clay dries.
That said, not all art needs to be kept. Especially process art like this!
It’s perfectly okay to deconstruct your sculpture when you’re done. Put all the beads back in their container, straighten out the wires, and save your clay/dough in an air-tight container. This way, you can offer the same invitation another day!
Have you ever tried wire sculpture with your young artists?
Pin this lesson for later