How to Make a Clay Pinch Pot with Preschoolers

The pinch pot is the foundations for many of our clay handbuilding projects in the art studio. So, it’s important to understand how to make a clay pinch pot AND the best way to teach your preschoolers how to do it.

This post contains affiliate links.

Colorful Clay Pigeon with Feathers and Googly Eyes
Pinch pot clay pigeon made by a preschool artist

Video for Teachers and Parents

These are the steps that I take and the words I use to teach my preschool (and even grade school) students how to make a pinch pot:

Best Practices for Preschool Clay Handbuilding

If you’re teaching clay sculpture to young artists, I recommend allowing plenty of time for the kids to freely explore the clay before starting on a project.

Squish it. Roll it. Stick stuff in it. Really enjoy all the sensory benefits from this art material before moving onto any project-based goals. This is probably the biggest teacher tip that I can offer.

More tips:

  • Teach rolling coils and and shaping pinch pots with play dough first. It’s easier for little fingers to squish and mold.
  • Have a wash bucket and towels nearby for artists who don’t like the feel of the dried clay on their hands. Give your students the power to wash-up whenever THEY feel like they need to.
  • Use good stuff. in the studio is from Discount School Supply. It comes in a 25lb block and will last for a good long while. In a pinch (get it?!), I’ll use.

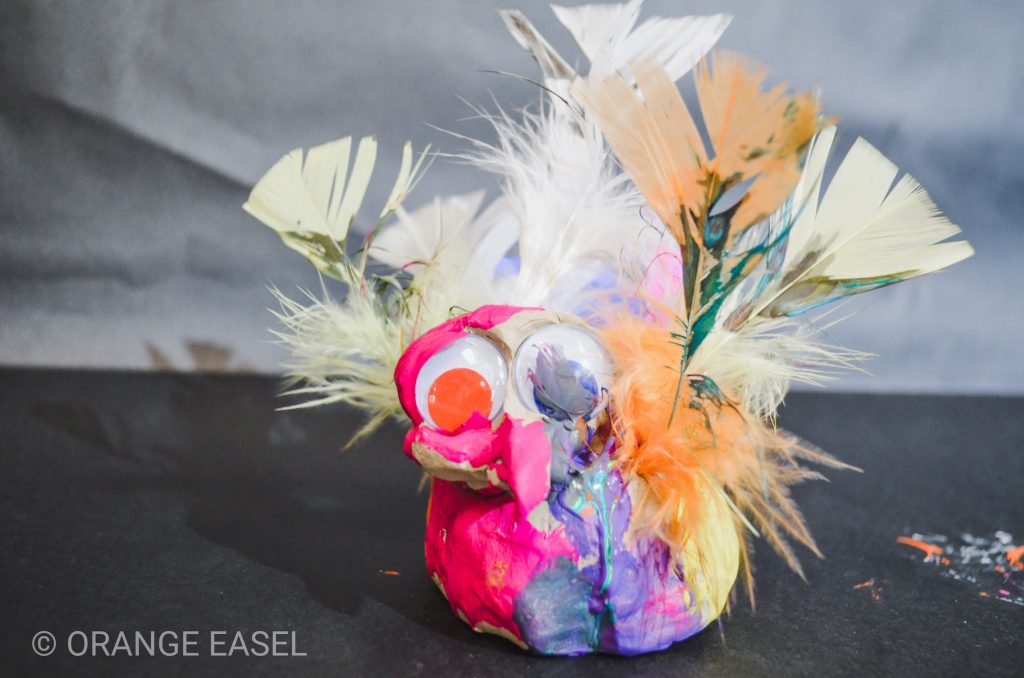
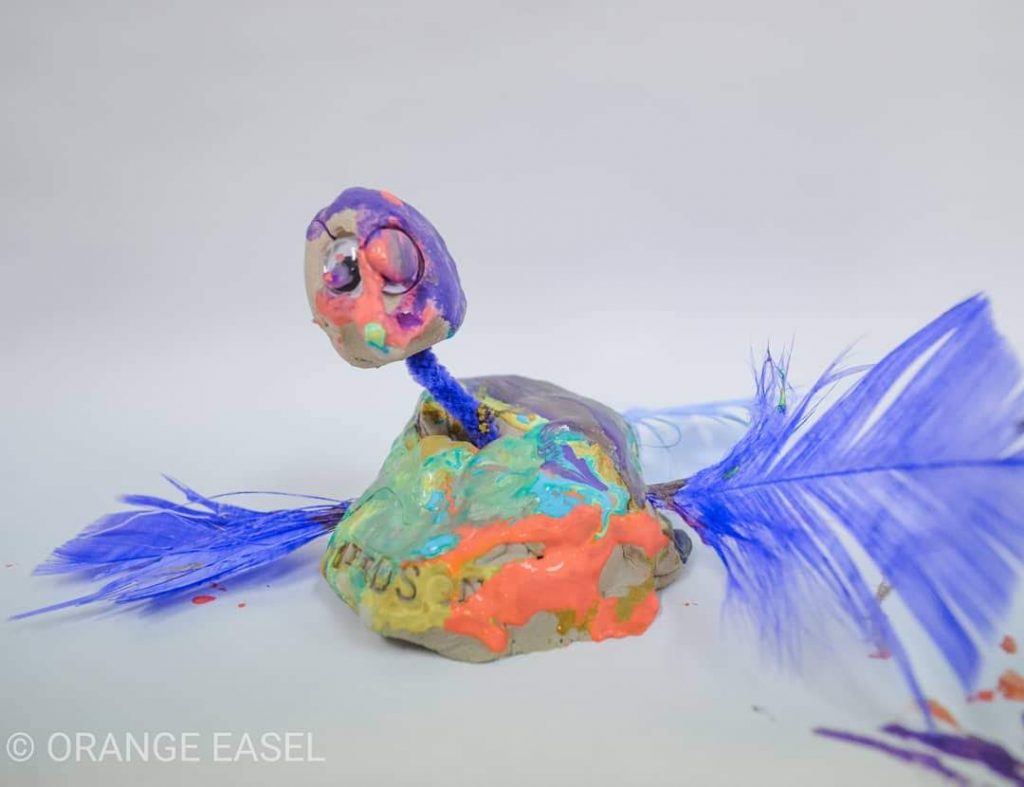
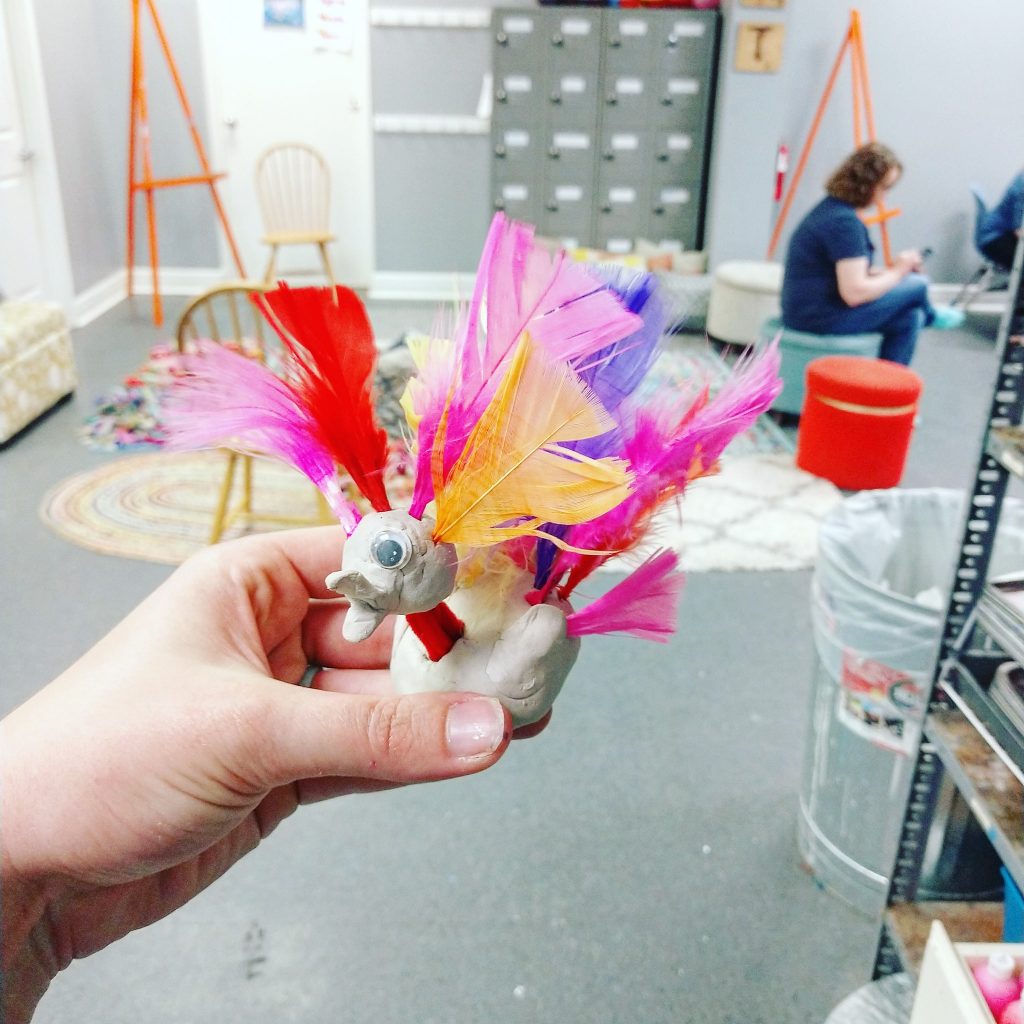
Clay Pinch Pot Project Ideas

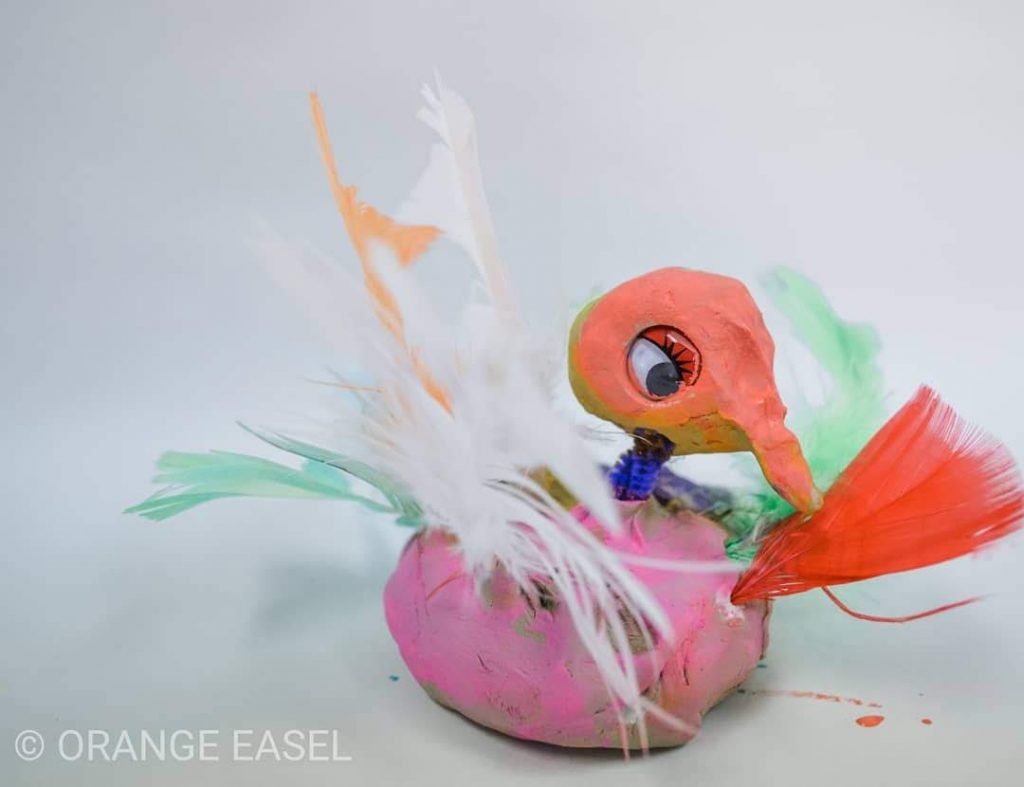
Now that you’ve learned how to make a clay pinch pot with your preschoolers, what do you do with those pots?

The possibilities are almost endless!

We have Pinterest board to inspire you. Notice that some of these finished projects are still bowls but others are totally transformed!

Pin pinch pot video and tips for later

How to Make a Clay Pinch Pot with Preschoolers
Pin this for easy reference later!

Clay Videos Classes from DoArtBetter.com

If you’re looking for clay classes, we’ve got ’em. Check out our video classes for preschool artist, grade school artists, teens, and adults. No kiln needed! All of our clay videos use an air-dry clay.

Clay Art Project for Preschoolers: Bobblehead Pigeons

Today, I wanted to share with you one of my favorite clay art project for preschoolers. We do this project every May. Since May is sculpture month for our students, this clay handbuilding lesson ties into the hilarious story Don’t Let the Pigeon Drive the Bus by Mo Williams.

This post contains affiliate links.

Clay Art Project for Preschoolers: Clay Booblehead Pigeon with Feathers and Googly Eyes
Colorful Clay Pigeon with Feathers and Googly Eyes

Preparing for Class

In preparations for our clay art project with our preschoolers, we measure out equal-ish chunks for clay, set them out on a tray, and cover the tray with plastic wrap.

Supplies needed:

  • Clay tools
  • Acrylic paints (after the clay is dry)
  • Clear glossy spray paint (optional)

If you don’t want to use acrylic (non-washable) paints with your students, I highly recommend these tempera ones. They cover really well, dry with a glossy finish, and look amazing on clay!

Beginning the Class

After reading the story, we always have journal time. By reflecting in our journals with drawing materials, we could talk about the parts of a pigeon (head, neck, body, eyes, beak, etc). In our discussion, we looked at the illustrations in the book and noted the shape of each of these pigeon body parts.

Journal time with our students drawing pigeons

This type of discussion makes our clay art project easier for preschoolers!

Preschool Clay Sculpture Lesson

Step One: Making the Body

We gave our students ball of class about the size of a golf ball and invited them to squish around and warm it up! This is called conditioning the clay and it makes it easier to work with. We like to give them plenty of time to just PLAY with the materials before we do any kind of demonstrating.

The golf ball sized piece that they have will becoming the pigeon’s body. We teach the kiddos how to make a pinch pot by sticking their thumb into the clay ball (like a popsicle!) and slowly opening up the hole by pinching with their other fingers on that hand.

We’ve created a video to show you the words we use and how to teach young artists this handbuilding technique. You can also check out this blog post for more on pinch pots.

VIDEO: How to make a pinch pot with your preschoolers

Step Two: Making the Head

To make the head, hand out another smaller ball of clay to each student. Like the size of a large marble or a ping-pong ball.

We show the students how to pinch the clay to make eye sockets and a beak shape. We also show them how they can “erase” their face by rolling the ball on the table and returning it to a perfectly round shape.

Step Three: Making the Neck

We twisted pipecleaners together to make the neck. If you have young preschoolers, I would recommend doing this step for them before class. Pre-K-ers can usually accomplish the bending and twisting with a little help.

We use a whole pipe cleaner and bend it in half three times (so it’s 1/6 of it’s original length). Give it a twist each time you bend it so that it stays together.

This ensures that your neck can support the weight of your pigeons head.

Step Four: Googly Eyes and Feathers

Now, it’s time for the fun part! We offer feathers and googly eyes for the kids to bring their pigeons to life! I love having a good selection of different eye balls to choose from.

Some of our Favorite Pigeons

Pin this image for later!

Clay Lesson for Preschoolers - Bobblehead Pigeons