Watercolor Tutorial for Simple Rainbow Leaves

Learn how to paint these gorgeous rainbow leaves with this simple watercolor tutorial! 

All summer long in the studio, my staff and I have been going live on our studio facebook page with little lessons and art ideas for home.  My most recent video is seriously a combination of my favorite things:  It’s watercolors.  It’s botanicals.  It’s loose and gestural.  AND it’s rainbow!

If you want to learn a simple watercolor technique to paint leaves (either in rainbow OR in the more traditional green color), definitely check out below.

This post contains affiliate links.

Watercolor supplies needed:

Rainbow Leaves Video Tutorial

I hope you get to try this watercolor tutorial at home this summer and make your own rainbow leaves.

These one-stroke and two-stroke leaves are the perfect beginner’s lesson. Try them in natural green colors for a completely different look!

Pin for Later

Watercolor Tutorial - Rainbow Leaves

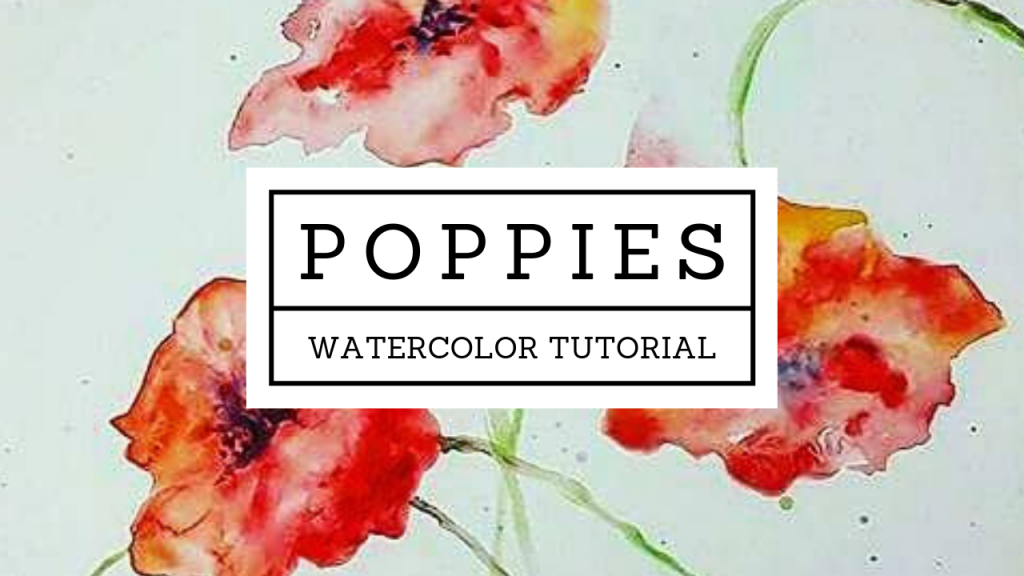
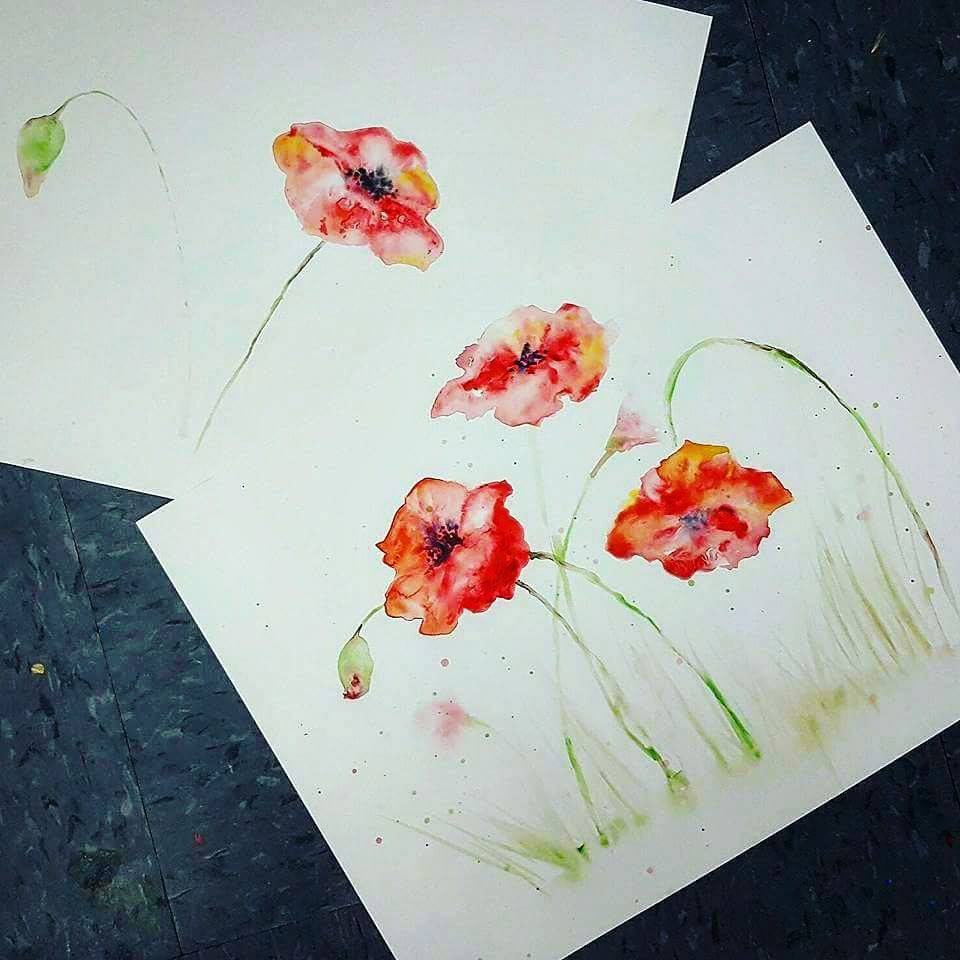
Looking for more watercolor tutorials from me?

Be sure to click over to my Watercolor Poppies that I painted for Memorial Day!

Watercolor Tutorial - Poppies

Poppies Watercolor Video Lesson – Memorial Day

Practice your watercolor skills with today’s poppies video lesson. Since poppies are one of the the few flowers that I can identify with ease, AND with Memorial Day coming up this weekend, I thought I’d film a demo of how I paint these wildflowers.

If you know me, you know that I love watercolors, and you might even know that flowers are one of my favorite subjects to paint! They are so fun and fresh and doodle-friendly. As some who appreciates the beauty of flowers but knows nothing about gardening or keeping plants alive, I’m usually just make-up my flowers.

Watercolor Poppies from our video demo

In the video lesson, I’m using a set of everyday watercolor paints (nothing fancy) so you should be able to follow along no matter what supplies you have! Bare minimum, you’ll want a red and a green paint! Alright, let’s get on to our Watercolor Poppies Video Lesson:

Painting Lesson Supplies

  • Watercolor paper
  • Watercolor paints (pan, tube, or liquid)
  • Paper towel
  • Watercolor brush (I’m using a round #6)
  • Water jar (Or two. I like two)

Watercolor Video Tutorial

If you try this lesson out at home, I’d love to see your work! You can comment below, post it Instagram (and tag me @do_art_better_), or send it via direct message.

Why Poppies?

Every wonder why poppies are the symbol for Memorial Day?

The red remembrance poppy has become a familiar emblem of Remembrance Day due to the poem In Flanders Fields. These poppies bloomed across some of the worst battlefields of Flanders in World War I; their brilliant red color became a symbol for the blood spilled in the war.

In Flanders Fields

by John McCrae, May 1915

In Flanders fields the poppies blow
Between the crosses, row on row,
That mark our place; and in the sky
The larks, still bravely singing, fly
Scarce heard amid the guns below.

We are the Dead. Short days ago
We lived, felt dawn, saw sunset glow,
Loved and were loved, and now we lie
In Flanders fields.

Take up our quarrel with the foe:
To you from failing hands we throw
The torch; be yours to hold it high.
If ye break faith with us who die
We shall not sleep, though poppies grow
In Flanders fields

Additional Poppy Art Projects

Pin for later

Watercolor Poppies Tutorial

How to Make a Clay Pinch Pot with Preschoolers

The pinch pot is the foundations for many of our clay handbuilding projects in the art studio. So, it’s important to understand how to make a clay pinch pot AND the best way to teach your preschoolers how to do it.

This post contains affiliate links.

Colorful Clay Pigeon with Feathers and Googly Eyes
Pinch pot clay pigeon made by a preschool artist

Video for Teachers and Parents

These are the steps that I take and the words I use to teach my preschool (and even grade school) students how to make a pinch pot:

Best Practices for Preschool Clay Handbuilding

If you’re teaching clay sculpture to young artists, I recommend allowing plenty of time for the kids to freely explore the clay before starting on a project.

Squish it. Roll it. Stick stuff in it. Really enjoy all the sensory benefits from this art material before moving onto any project-based goals. This is probably the biggest teacher tip that I can offer.

More tips:

  • Teach rolling coils and and shaping pinch pots with play dough first. It’s easier for little fingers to squish and mold.
  • Have a wash bucket and towels nearby for artists who don’t like the feel of the dried clay on their hands. Give your students the power to wash-up whenever THEY feel like they need to.
  • Use good stuff. in the studio is from Discount School Supply. It comes in a 25lb block and will last for a good long while. In a pinch (get it?!), I’ll use.

Clay Pinch Pot Project Ideas

Now that you’ve learned how to make a clay pinch pot with your preschoolers, what do you do with those pots?

The possibilities are almost endless!

We have Pinterest board to inspire you. Notice that some of these finished projects are still bowls but others are totally transformed!

Pin pinch pot video and tips for later

How to Make a Clay Pinch Pot with Preschoolers
Pin this for easy reference later!

Clay Videos Classes from DoArtBetter.com

If you’re looking for clay classes, we’ve got ’em. Check out our video classes for preschool artist, grade school artists, teens, and adults. No kiln needed! All of our clay videos use an air-dry clay.

How to Make Easy Paper Beads

Everyone has junk mail catalogs or magazines laying around, right? Let’s turn those into some amazing (and easy) paper beads!

Supplies:

  • Scrapbook paper, junk mail, magazines, etc
  • Scissors
  • Glue or modpodge
  • Paint brush (for applying the modpodge)
  • Wooden skewer

Video Tutorial

Use your new creations for a wire sculpture invitation here.

10 Reasons we love paper beads

In case you need a reason to try this at home, I’ve put together 10 of them:

  1. Almost anything you can do with regular beads, you can do with these!
  2. You’ll never be without beads again…because you can make your own.
  3. So so so good for exercising those fine motor muscles.
  4. Customize your jewelry by making beads in any color and pattern.
  5. Use different shapes of paper strips to make different shaped beads.
  6. They are inexpensive.
  7. But they LOOK impressive (like real beads).
  8. They are relaxing to make once you get into a rhythm.
  9. If you don’t want to cut your own paper strips you can buy them pre-cut!
  10. It’s something you do as a family.

Pin this for later:

How to Make Awesome Paper Beads