The Ultimate Observational Drawing Idea List for Kids

The biggest complaint we hear from students is that observational drawing is boring. So, to beat the boredom, I’ve put together the ultimate observational drawing idea list for kids.

This post contains affiliate links.

The Purpose of Observational Drawing

Observational drawing is an incredibly valuable practice for young artists. It trains our eye and our hands to work together.

Keep in mind, the purpose of observational drawing is the process of drawing. PERIOD. The goal is not to create a winning composition. It’s not to create a beautiful piece of artwork to hang on the wall. Or to draw perfectly. It’s not even necessary to FINISH the drawing.

How do you know if you did it right? Well, if you looked at something and then put a pencil (or pen) to paper to try to replicate it, then you did it right. It’s that simple.

Observational Drawing Tips

Beyond simply doing your best to replicate something on paper, here are my best tips from years of experience in the studio:

  • Manage your expectations – it’s not always going to be pretty, and that’s okay.
  • Short 5-10 minute drawing is plenty of time – you don’t have to finish it
  • Draw something you find interesting to look at
  • Spend more time looking at the object than you do at your paper/drawing
  • Draw without an eraser – seriously, try it.
  • For younger artists, attention to details is the first goal. Don’t worry about scale or perspective yet.
  • Breath and enjoy the act of drawing

Contemporary Subjects for Observational Drawing

Hobbies and Activities

  • musical instrument that you play
  • baseball / glove
  • basketball / shoes / netting
  • football / mouth guard/cleats
  • soccer ball / shin guards/cleats
  • collection of art supplies
  • chess board
  • deck of cards
  • tap / ballet shoes
  • camera
  • bicycle
  • skateboard
  • drums
  • fishing poles
  • fishing lures

Technology

  • cell phone / charger
  • video game controller / console
  • drone
  • laptop
  • earbuds or headphones
  • computer keyboard
  • mother board

Entertainment and Media

  • magazine cover
  • book cover
  • stack of your favorite books
  • board game in progress
  • video game cover

Clothing

  • baseball cap
  • athletic shoes
  • cowbow boots
  • sunglasses
  • favorite hoodie

Food and Drink

  • after school snacks
  • fast food meal
  • favorite donut
  • coffee shop drink & pastry
  • favorite movie candy
  • inside of citrus fruit
  • sushi rolls
  • pizza slices
  • favorite kind of donut
  • soda can / bottle
  • popcorn
  • banana peel
  • chocolate bar and wrapper
  • birthday cake / cupcake
  • pack of gum
  • chocolate chip cookies
  • fortune cookie
  • jelly beans
  • ice cubes
  • s’mores
  • watermelon
  • waffles

Living Things

Everyday Objects

  • coins and bills
  • jewelry
  • keys
  • cosmetics
  • crumpled up paper
  • nuts and bolts
  • origami folded paper
  • legos or other blocks
  • favorite teddy bear or stuffed animal
  • marbles
  • ticket stub
  • scented candle
  • paper airplane
  • pet bowls, toys, or accessories
  • car/vehicle dashboard
  • school backpack
  • balloon animals
  • piggy bank

Natural Objects

Self

  • non-dominant hand
  • dominant hand
  • close-up of one eye
  • self portrait
  • your shadow
  • lost tooth

Holidays

  • jack-o-lantern
  • halloween candy haul
  • presents / gifts
  • favorite ornament
  • Christmas tree
  • tree topper
  • nutcracker
  • candy cane
  • elf on the shelf
  • gingerbread cookies
  • nativity figurines
  • noise makers
  • conversation heart candies
  • box of chocolates
  • shamrocks / clovers
  • Easter eggs
  • baby chicks
  • Easter lilies
  • chocolate bunny
  • peeps (candy)
  • fireworks

Make It Interesting: Perspective and Viewpoint

Encourage your artists to change their view point to make their drawings more interesting.

Birds Eye View

A top shop like this one is a really common perspective that we see in contemporary still life photos on social media, especially Instagram.
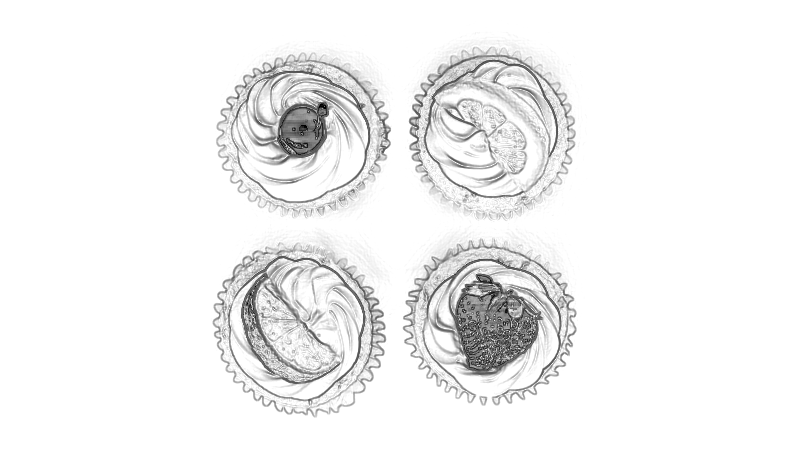
birds eye view of cupcakes

Low Angle Observations

Getting your eyes low on your subject (1) magnifies the smaller object to look lifesize, and (2) changes the background of your composition.
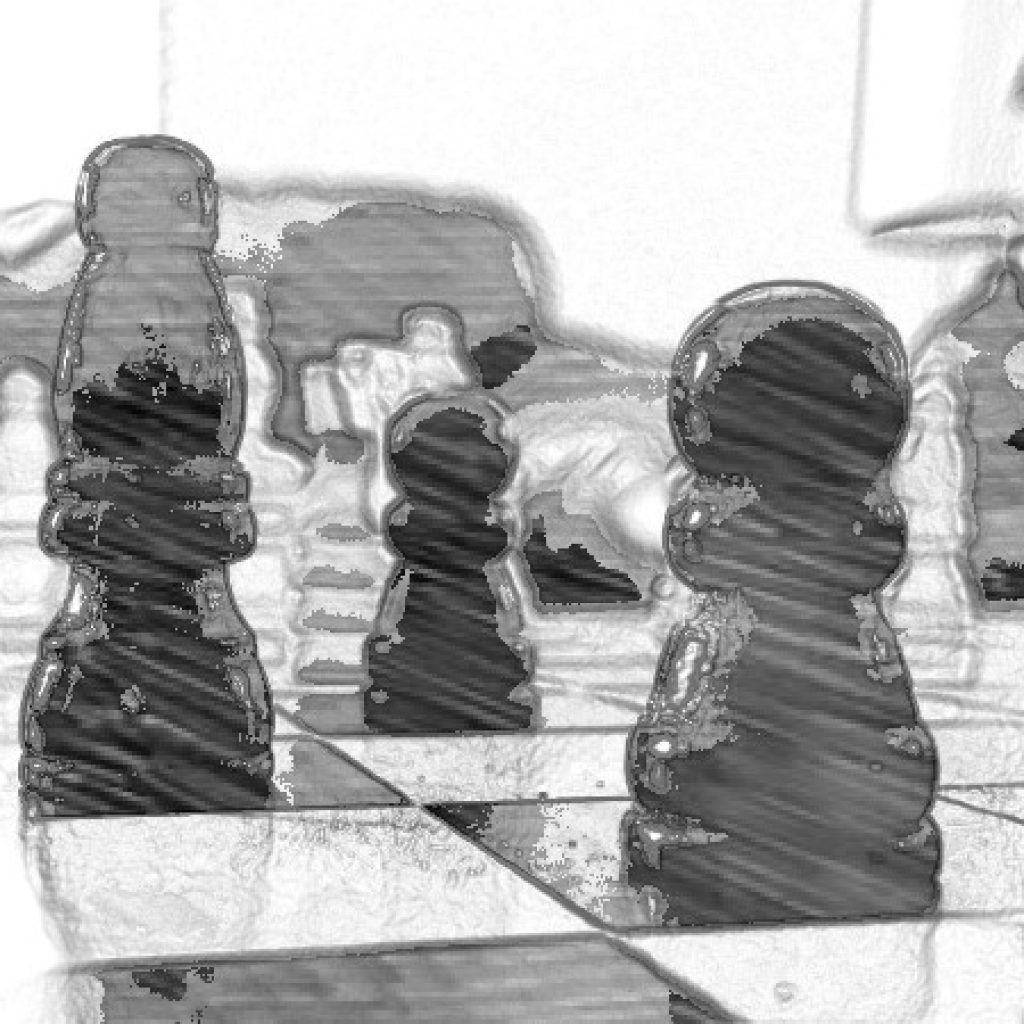
low-angle view of a chess board

Close-up and close cropped drawings

Draw your object so that it fills the entire page and leaves very little background.
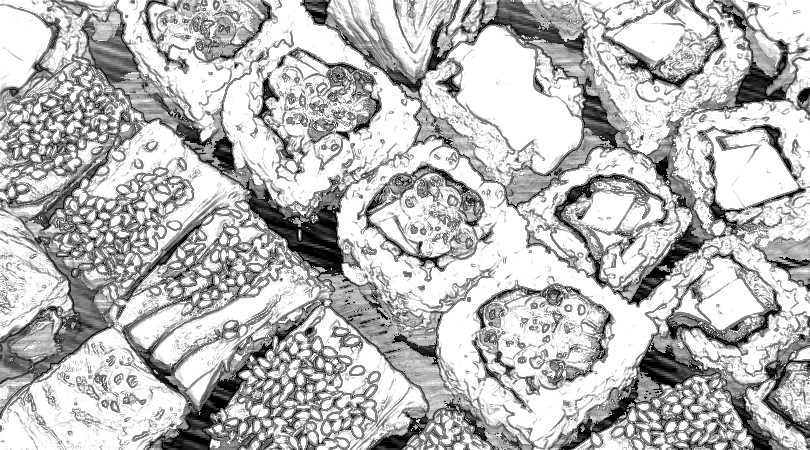
close-up drawing of sushi rolls

Use a Viewfinder to help you draw

A viewfinder is a tool used by artists to help narrow in on a subject. It creates a frame for the artist to see a two-dimensional composition in a three-dimensional world. It’s the same term we use to describe the window on a camera.

In my next post, I’ll show you my favorite viewfinder the best way to use this tool!

Well, what do you think? What am I missing from my “ultimate” observational drawing idea list for kids these days? Let me know in the comments and I’ll get it added!

Pin this list for later:
Observational Drawing Idea List for Kids

Poppies Watercolor Video Lesson – Memorial Day

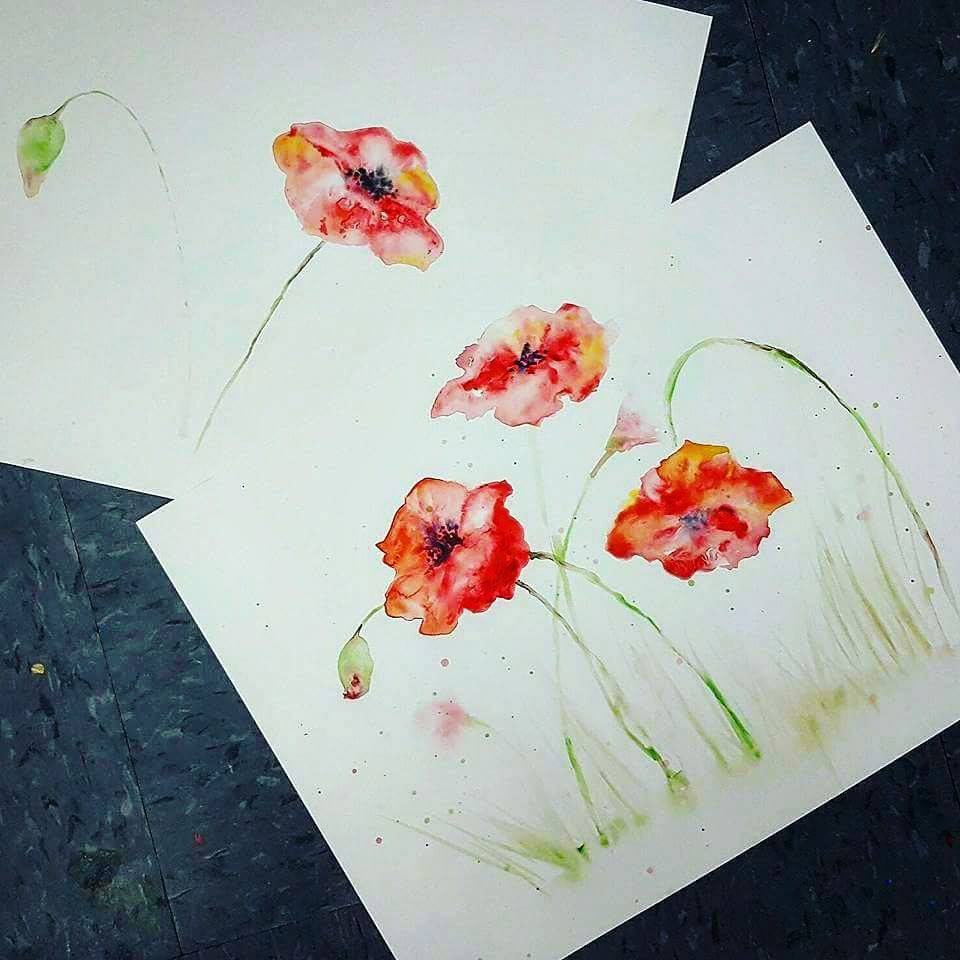
Practice your watercolor skills with today’s poppies video lesson. Since poppies are one of the the few flowers that I can identify with ease, AND with Memorial Day coming up this weekend, I thought I’d film a demo of how I paint these wildflowers.

If you know me, you know that I love watercolors, and you might even know that flowers are one of my favorite subjects to paint! They are so fun and fresh and doodle-friendly. As some who appreciates the beauty of flowers but knows nothing about gardening or keeping plants alive, I’m usually just make-up my flowers.

Watercolor Poppies from our video demo

In the video lesson, I’m using a set of everyday watercolor paints (nothing fancy) so you should be able to follow along no matter what supplies you have! Bare minimum, you’ll want a red and a green paint! Alright, let’s get on to our Watercolor Poppies Video Lesson:

Painting Lesson Supplies

  • Watercolor paper
  • Watercolor paints (pan, tube, or liquid)
  • Paper towel
  • Watercolor brush (I’m using a round #6)
  • Water jar (Or two. I like two)

Watercolor Video Tutorial

If you try this lesson out at home, I’d love to see your work! You can comment below, post it Instagram (and tag me @do_art_better_), or send it via direct message.

Why Poppies?

Every wonder why poppies are the symbol for Memorial Day?

The red remembrance poppy has become a familiar emblem of Remembrance Day due to the poem In Flanders Fields. These poppies bloomed across some of the worst battlefields of Flanders in World War I; their brilliant red color became a symbol for the blood spilled in the war.

In Flanders Fields

by John McCrae, May 1915

In Flanders fields the poppies blow
Between the crosses, row on row,
That mark our place; and in the sky
The larks, still bravely singing, fly
Scarce heard amid the guns below.

We are the Dead. Short days ago
We lived, felt dawn, saw sunset glow,
Loved and were loved, and now we lie
In Flanders fields.

Take up our quarrel with the foe:
To you from failing hands we throw
The torch; be yours to hold it high.
If ye break faith with us who die
We shall not sleep, though poppies grow
In Flanders fields

Additional Poppy Art Projects

Pin for later

Watercolor Poppies Tutorial

DIY Holder for Butcher Paper

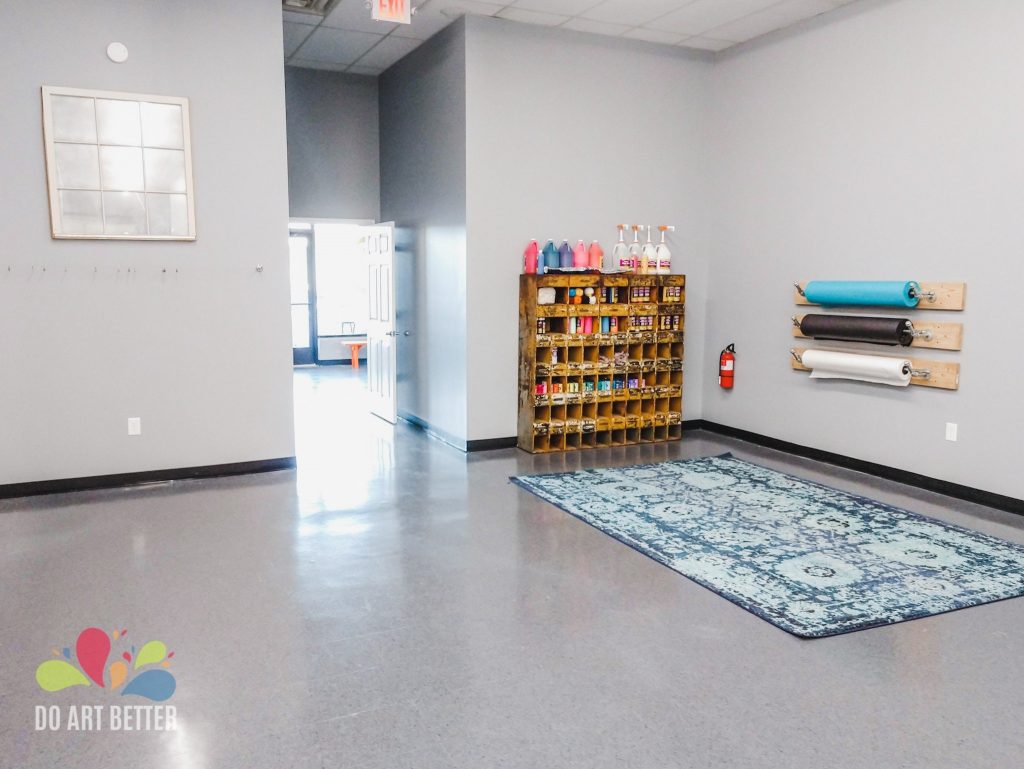
Hi everyone! Our newest art studio has been open for nine months, and I’m finally getting around to writing about some of our construction projects! First up, I want to show you how we built our own DIY holder for butcher paper. I love this storage and dispensing solution for those big, heavy rolls of butcher paper!

DIY Wall Holder for Butcher Paper

This post contains affiliate links.

I know you can purchase s for these paper rolls but they take up floor space and I didn’t want to be moving them around all the time. Couple that with the fact that most storage solutions were pretty expensive, and that naturally led us to creating our own solution.

I’m very pleased that our DIY holder for butcher paper here cost us only about $200.

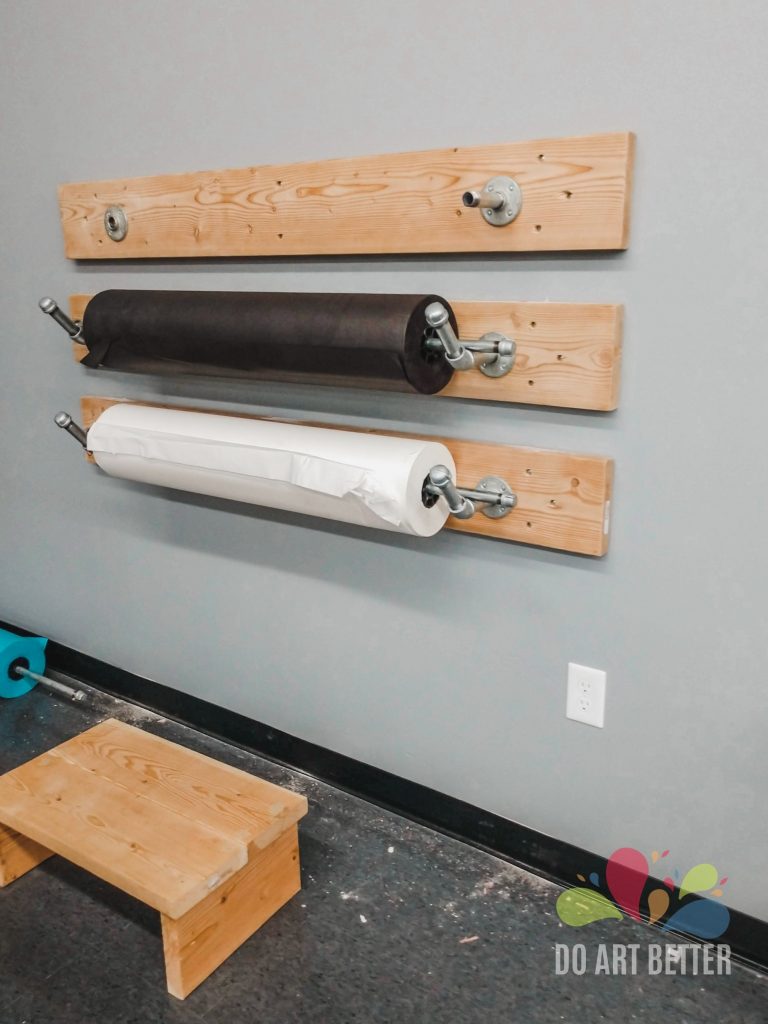
Almost complete DIY Wall-Hanging Paper Holder

DIY Supplies:

Wood boards – you will need one board for each roll of paper. We cut our boards to 60″ because are 36″ long. The wood is a common 2×8 (in actual dimensions, it’s 1.5 inches thick and 7.25 inches wide).

[ BTW, ]

Pipes – one full “set” for each roll of paper. We bought all our pipes at the hardware store already cut to the appropriate length and already threaded! See the breakdown below.

Galvanized Pipes (one set per roll of paper)

  • floor flange, 3/4in (2)
  • 45° elbow, 3/4in (2)
  • cap, 3/4in (2)
  • 3/4in x 4.5in pipe (4)
  • 1/2in x 48in pipe (1)
  • 1/2in cap (2)

Hardware (one set per roll of paper)

  • Wall anchors (8)
  • 5″ screws to go into the wall anchors or the wall (8)
  • washers (8)
  • 1in screws to attach the floor flanges to the board (8)

Putting it together

Step One

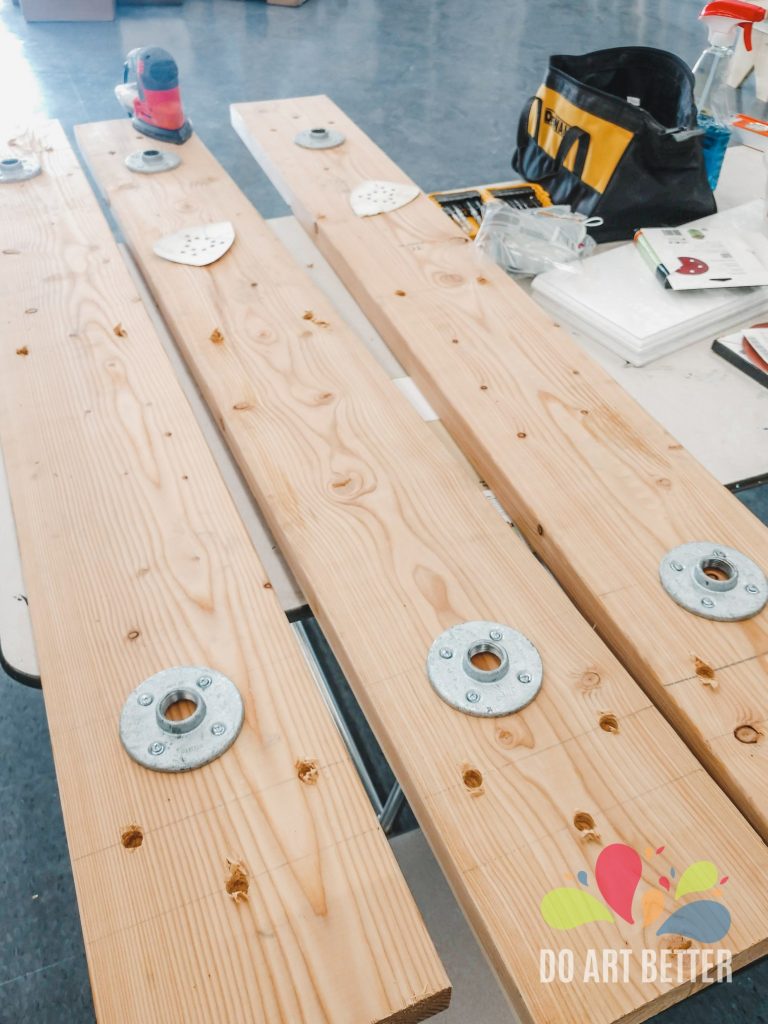
We began by cutting, sanding, and lightly staining our boards.
You could paint them too if you prefer that look. Personally, I love the raw wood + metal.

Step Two

We measured and drilled pilot holes for all the screws.

We positioned the floor flanges 40″ apart and centered them on the board both vertically and horizontally.

As far as the load-bearing screws that had to hold this sucker to the wall, we decided to use three on each end (outside of the floor flange) and two right in the middle. If you have the option to drill into studs instead of wall anchors, you might want consider positioning screws based on their locations instead! (Our building is metal studs so that is an option for us)

Miss Sam got fancy and sunk our wall screws down into the boards using a large drill bit. Totally not necessary but she is advanced like that 😉

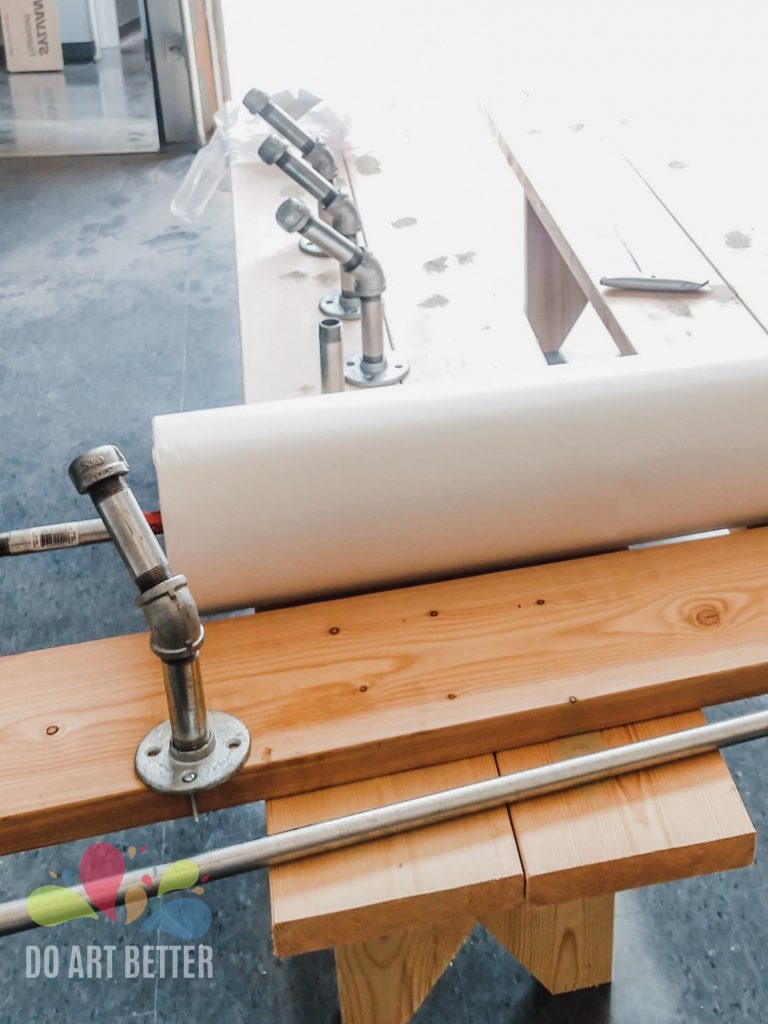
Galvanized floor flanges, pipes, and wood boards become industrial holder for paper rolls

Step Three

Next, we attached pipes to the boards. We began with the floor flanges, and then attached the remaining pipe assembly to the floor flanges.

 galvanized pipe and wood

Step Four

For the final step, we screwed everything to the wall. This was a two person job.

We used a level to position our boards and marked their position with a pencil. Then, we used a small drill bit to drill through our pilot holes in the board and make a mark on the wall where we needed to put the wall anchors.

After pounding in the wall anchors, we returned the board to the marked position and screwed it into place using the giant screws and washers. We only missed the wall anchor a few times! When that happened, we just had to back out the screw and try to re-position the board more accurately. Out of 24 chances, I figure three misses isn’t too shabby! Good thing no one is seeing the wall behind these boards, right?!

Hanging the butcher paper

Once the boards and pipes were up, all we had to do was add the paper. The long 48″ pipe slides right through the center of the roll. We attached the caps on the ends which keep the paper from sliding off the pipe and keep the pipe from shifting out of the cradle.

The paper dispenses easily right from the wall, but its also really handy sometimes to just carry the whole roll (on the pipe) where you need it.

Overall, I couldn’t be more pleased with our DIY solution! This butcher paper holder is JUST what we needed on our walls!

Got questions for me about this project? Leave them in the comments or send me a note on social. I’ll do my best to answer! (Keep in mind…not a contractor or builder…just an artist who will DIY anything…)

Pin this for later:

Pin for Later - DIY Butcher Paper Roll Holder for storage and dispensing

How to Make a Clay Pinch Pot with Preschoolers

The pinch pot is the foundations for many of our clay handbuilding projects in the art studio. So, it’s important to understand how to make a clay pinch pot AND the best way to teach your preschoolers how to do it.

This post contains affiliate links.

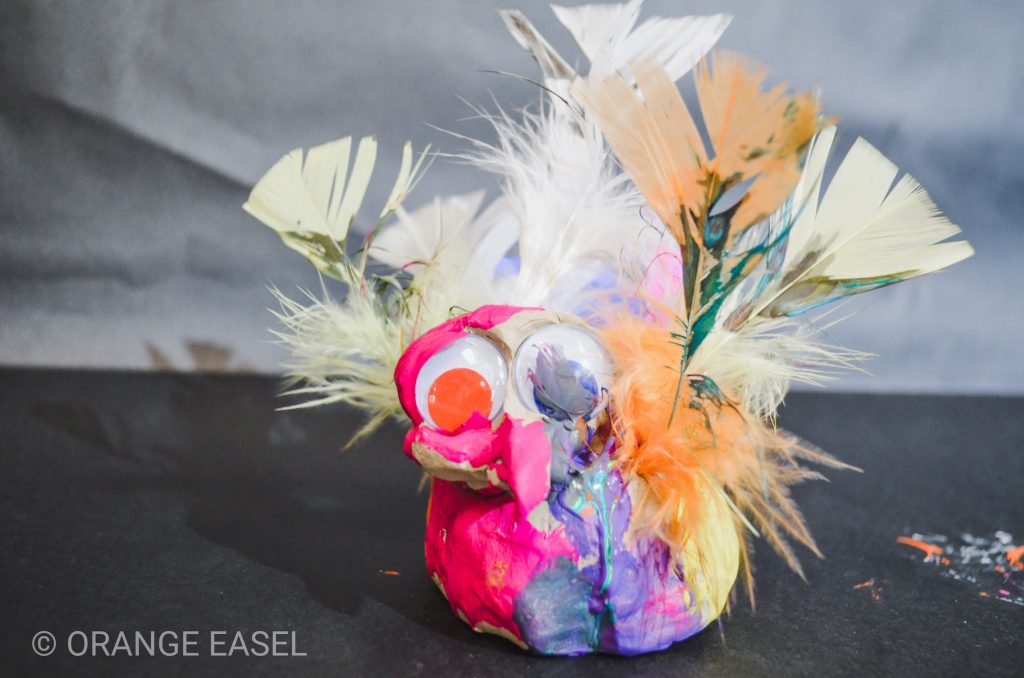
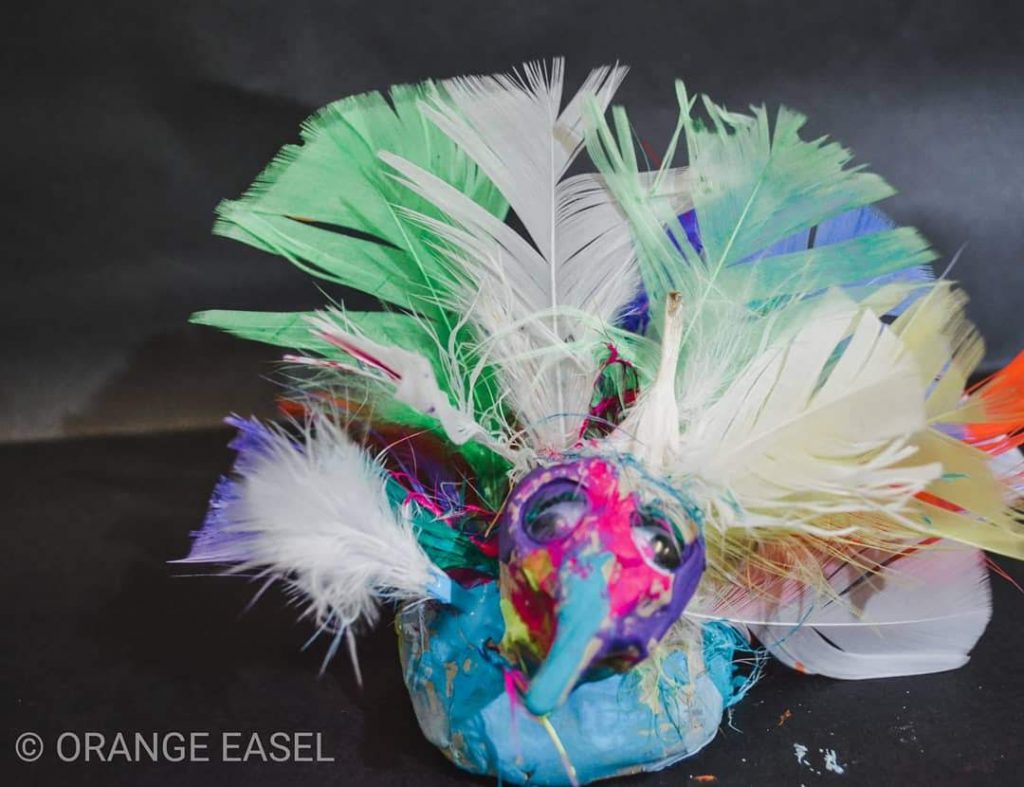
Colorful Clay Pigeon with Feathers and Googly Eyes
Pinch pot clay pigeon made by a preschool artist

Video for Teachers and Parents

These are the steps that I take and the words I use to teach my preschool (and even grade school) students how to make a pinch pot:

Best Practices for Preschool Clay Handbuilding

If you’re teaching clay sculpture to young artists, I recommend allowing plenty of time for the kids to freely explore the clay before starting on a project.

Squish it. Roll it. Stick stuff in it. Really enjoy all the sensory benefits from this art material before moving onto any project-based goals. This is probably the biggest teacher tip that I can offer.

More tips:

  • Teach rolling coils and and shaping pinch pots with play dough first. It’s easier for little fingers to squish and mold.
  • Have a wash bucket and towels nearby for artists who don’t like the feel of the dried clay on their hands. Give your students the power to wash-up whenever THEY feel like they need to.
  • Use good stuff. in the studio is from Discount School Supply. It comes in a 25lb block and will last for a good long while. In a pinch (get it?!), I’ll use.

Clay Pinch Pot Project Ideas

Now that you’ve learned how to make a clay pinch pot with your preschoolers, what do you do with those pots?

The possibilities are almost endless!

We have Pinterest board to inspire you. Notice that some of these finished projects are still bowls but others are totally transformed!

Pin pinch pot video and tips for later

How to Make a Clay Pinch Pot with Preschoolers
Pin this for easy reference later!

Clay Videos Classes from DoArtBetter.com

If you’re looking for clay classes, we’ve got ’em. Check out our video classes for preschool artist, grade school artists, teens, and adults. No kiln needed! All of our clay videos use an air-dry clay.

Clay Art Project for Preschoolers: Bobblehead Pigeons

Today, I wanted to share with you one of my favorite clay art project for preschoolers. We do this project every May. Since May is sculpture month for our students, this clay handbuilding lesson ties into the hilarious story Don’t Let the Pigeon Drive the Bus by Mo Williams.

This post contains affiliate links.

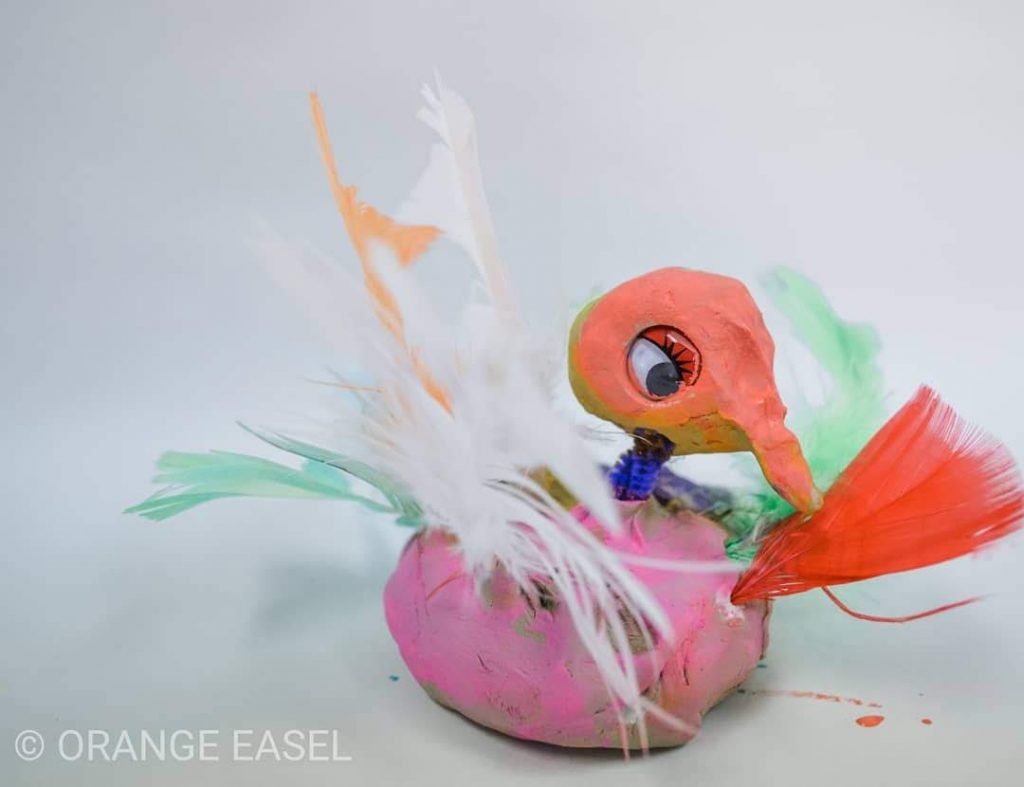
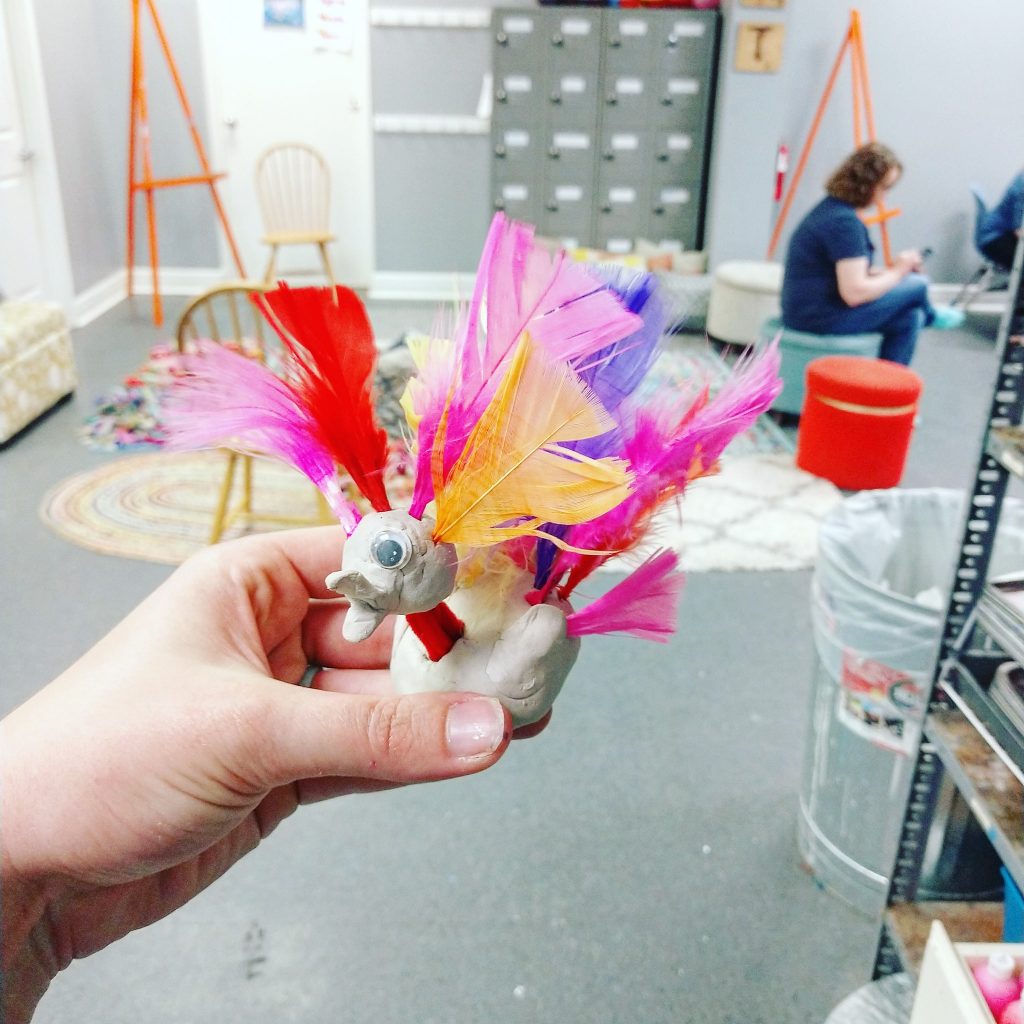
Clay Art Project for Preschoolers: Clay Booblehead Pigeon with Feathers and Googly Eyes
Colorful Clay Pigeon with Feathers and Googly Eyes

Preparing for Class

In preparations for our clay art project with our preschoolers, we measure out equal-ish chunks for clay, set them out on a tray, and cover the tray with plastic wrap.

Supplies needed:

  • Clay tools
  • Acrylic paints (after the clay is dry)
  • Clear glossy spray paint (optional)

If you don’t want to use acrylic (non-washable) paints with your students, I highly recommend these tempera ones. They cover really well, dry with a glossy finish, and look amazing on clay!

Beginning the Class

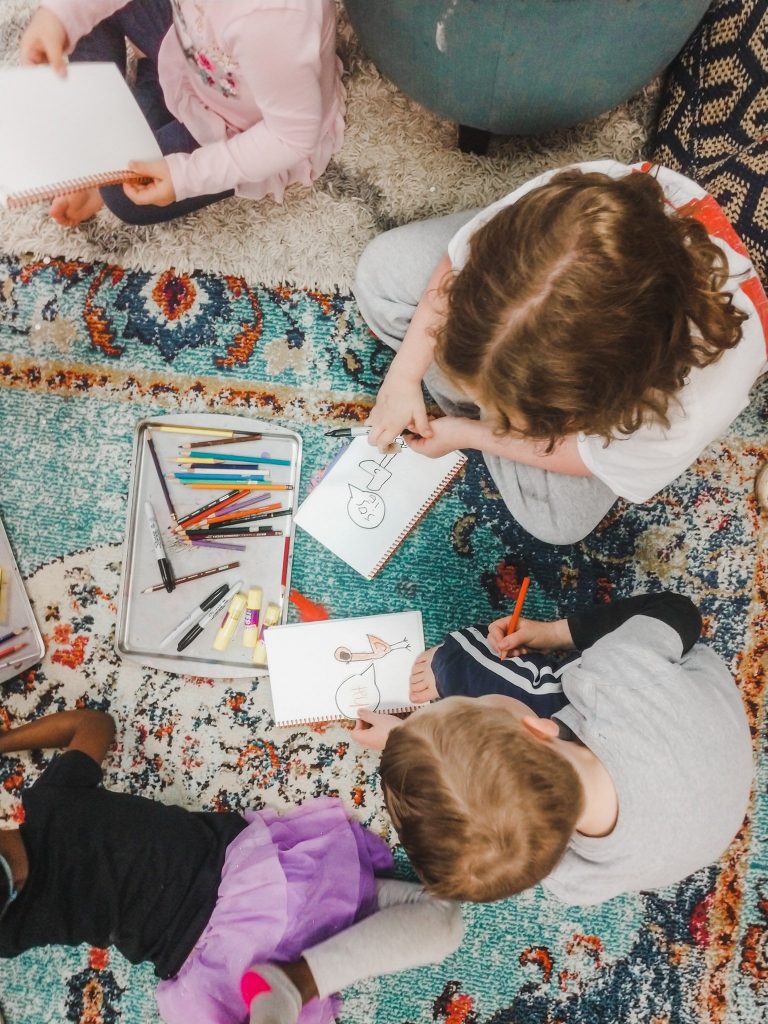
After reading the story, we always have journal time. By reflecting in our journals with drawing materials, we could talk about the parts of a pigeon (head, neck, body, eyes, beak, etc). In our discussion, we looked at the illustrations in the book and noted the shape of each of these pigeon body parts.

Journal time with our students drawing pigeons

This type of discussion makes our clay art project easier for preschoolers!

Preschool Clay Sculpture Lesson

Step One: Making the Body

We gave our students ball of class about the size of a golf ball and invited them to squish around and warm it up! This is called conditioning the clay and it makes it easier to work with. We like to give them plenty of time to just PLAY with the materials before we do any kind of demonstrating.

The golf ball sized piece that they have will becoming the pigeon’s body. We teach the kiddos how to make a pinch pot by sticking their thumb into the clay ball (like a popsicle!) and slowly opening up the hole by pinching with their other fingers on that hand.

We’ve created a video to show you the words we use and how to teach young artists this handbuilding technique. You can also check out this blog post for more on pinch pots.

VIDEO: How to make a pinch pot with your preschoolers

Step Two: Making the Head

To make the head, hand out another smaller ball of clay to each student. Like the size of a large marble or a ping-pong ball.

We show the students how to pinch the clay to make eye sockets and a beak shape. We also show them how they can “erase” their face by rolling the ball on the table and returning it to a perfectly round shape.

Step Three: Making the Neck

We twisted pipecleaners together to make the neck. If you have young preschoolers, I would recommend doing this step for them before class. Pre-K-ers can usually accomplish the bending and twisting with a little help.

We use a whole pipe cleaner and bend it in half three times (so it’s 1/6 of it’s original length). Give it a twist each time you bend it so that it stays together.

This ensures that your neck can support the weight of your pigeons head.

Step Four: Googly Eyes and Feathers

Now, it’s time for the fun part! We offer feathers and googly eyes for the kids to bring their pigeons to life! I love having a good selection of different eye balls to choose from.

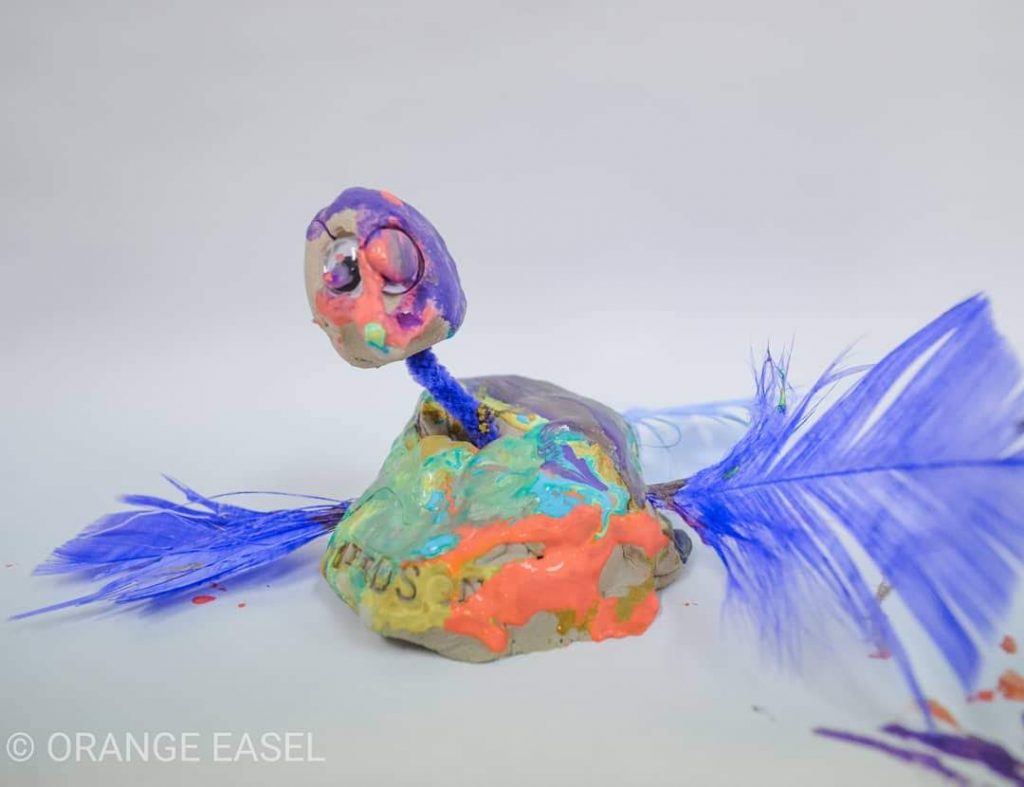
Some of our Favorite Pigeons

Pin this image for later!

Clay Lesson for Preschoolers - Bobblehead Pigeons

Color Exercise with Grid Paper and Prismacolors

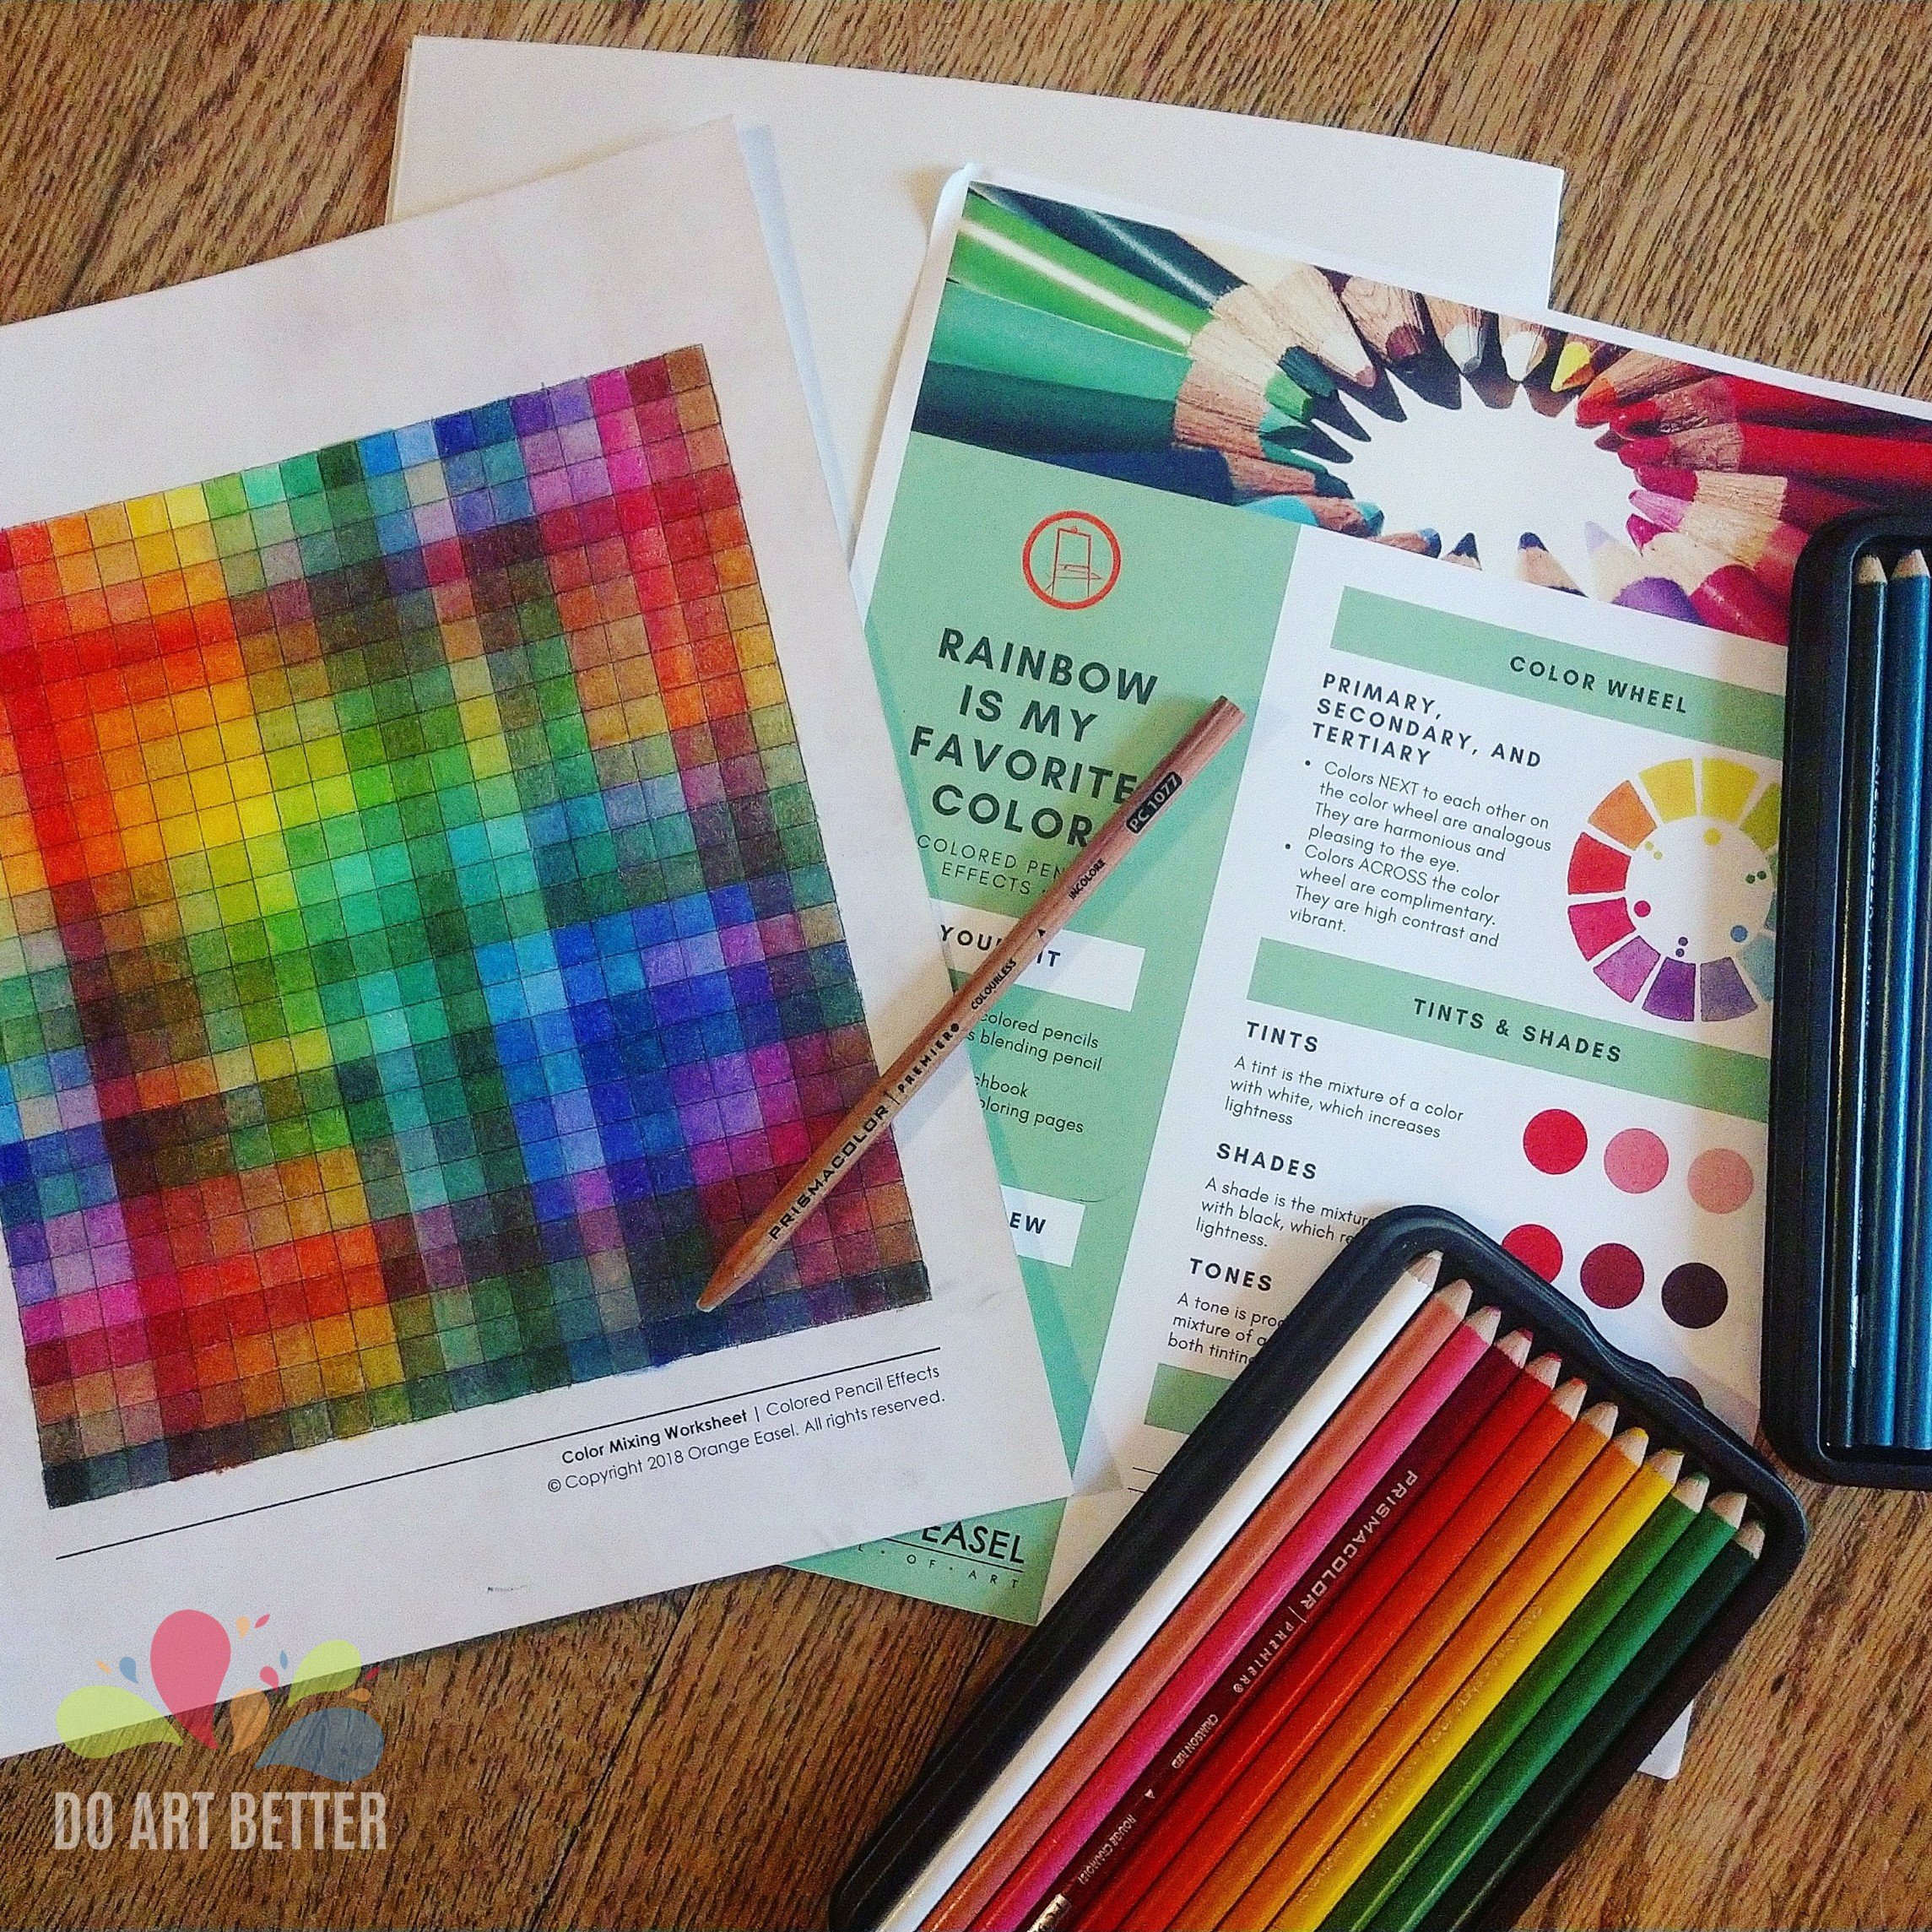
Today I’m sharing an exercise to practice color pencils techniques such as blending and burnishing. I find completing these forms to be so relaxing! It’s the type of practice that you can work on just alittle bit each day whenever you need a brain break!

I’m using Prismacolor brand pencils for this color grid.

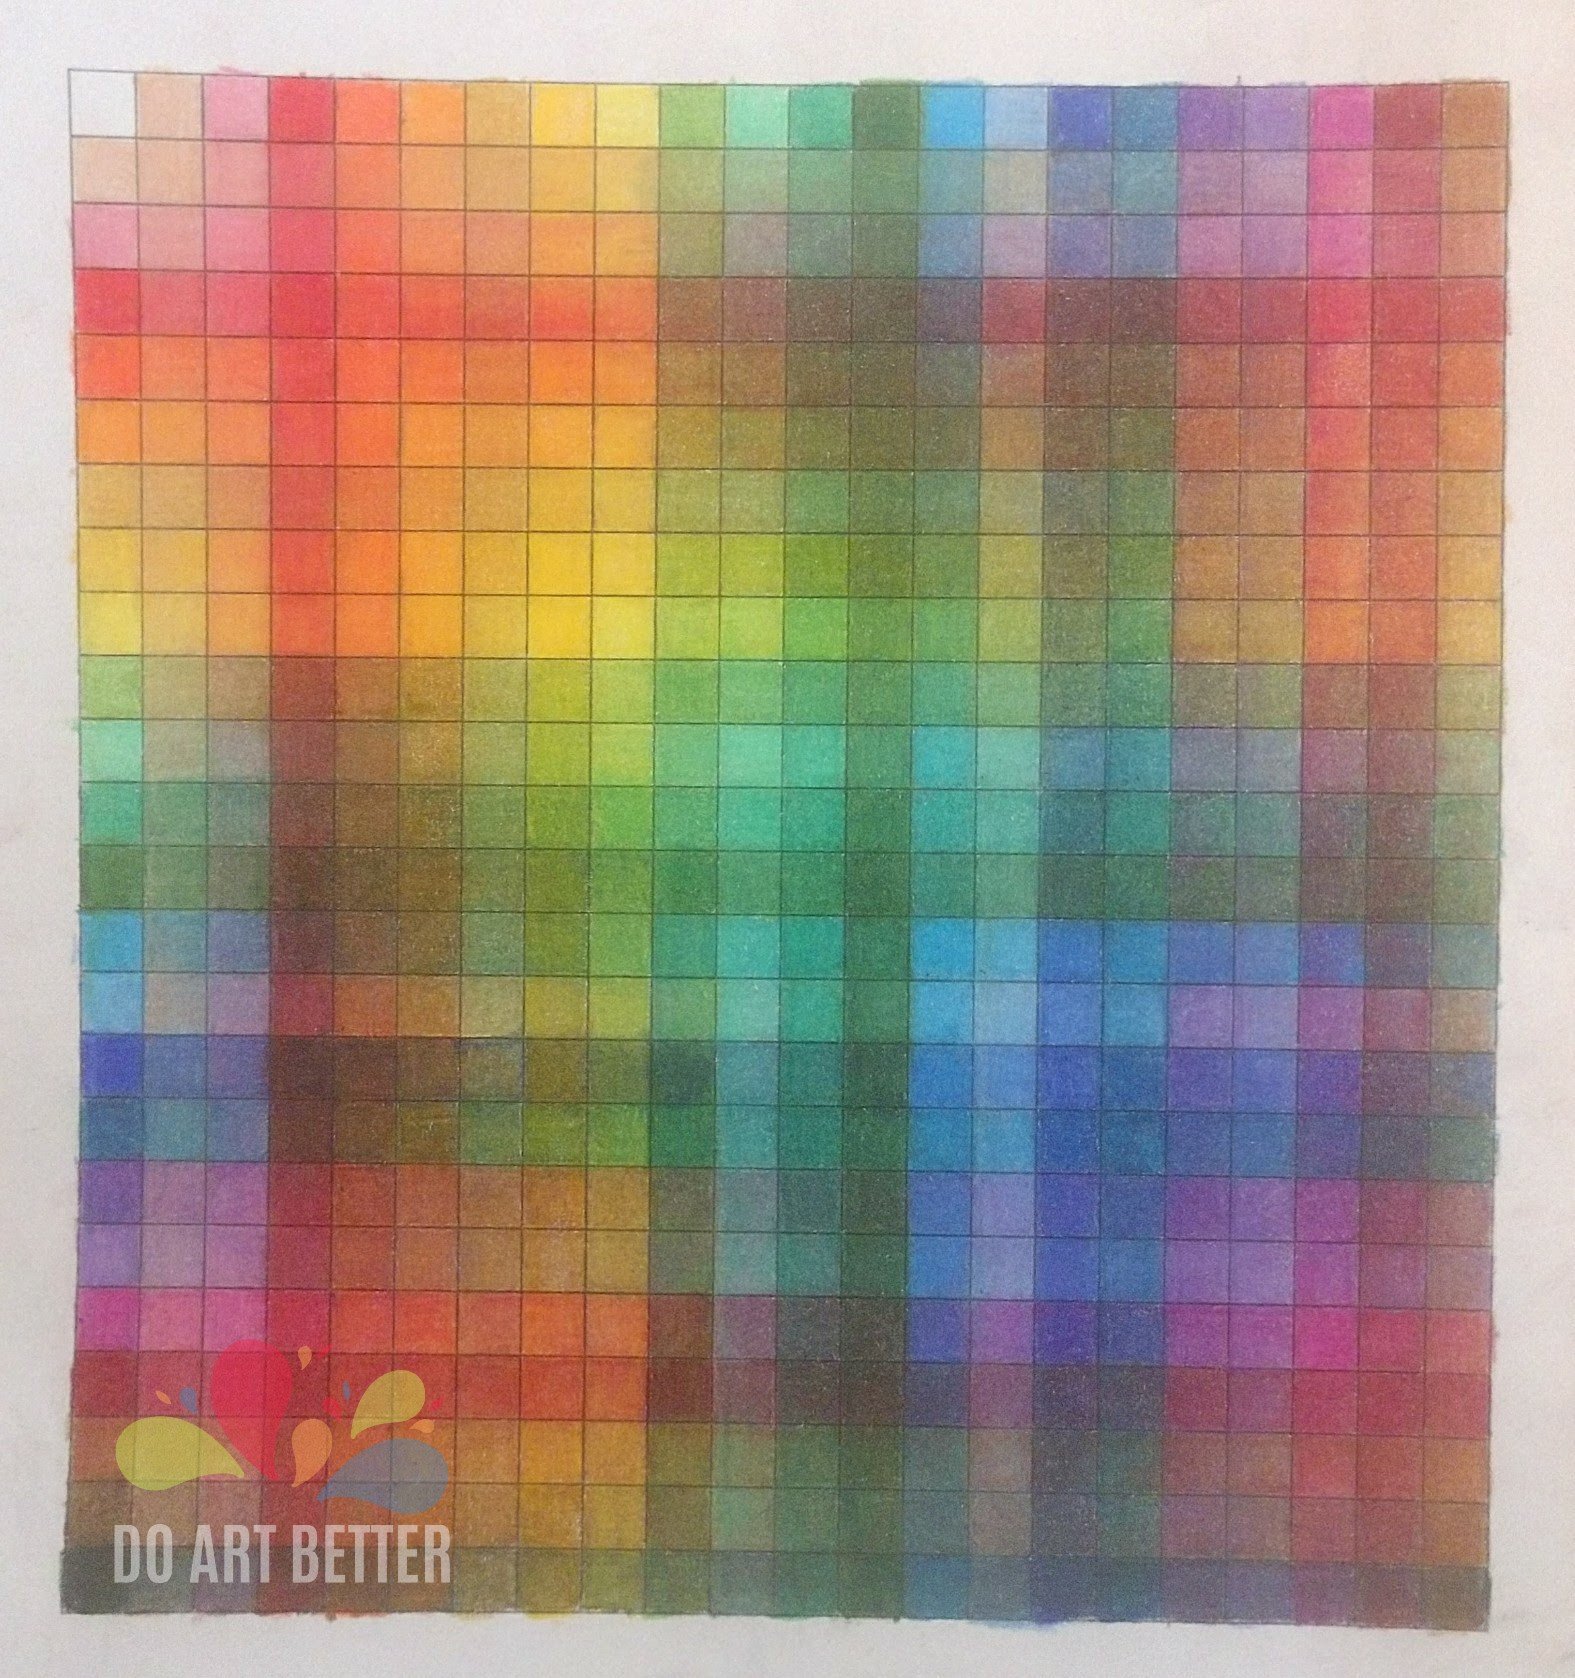
Colored pencil techniques and exercises. This exercise is a great way to practice your blending in a relaxing way and end up with a handy color-mixing reference sheet!
The finished product makes a great reference tool for colors!

In addition to a quality set of pencils, you’ll also need some grid paper (download free printable here).

Tutorial

Begin by figuring out the order of your pencils. You can do them in rainbow order, a random assortment, or whatever organization method makes sense to you. For my example, I used my pencils in the order that they came in the box!

Whatever order you choose is, make a note of it so you remember! It doesn’t matter how many colors you have because you’ll start back over at pencil #1 when you reach your last one.

Adult coloring pages! Colored pencil techniques and exercises. This exercise is a great way to practice your blending in a relaxing way and end up with a handy color-mixing reference sheet!
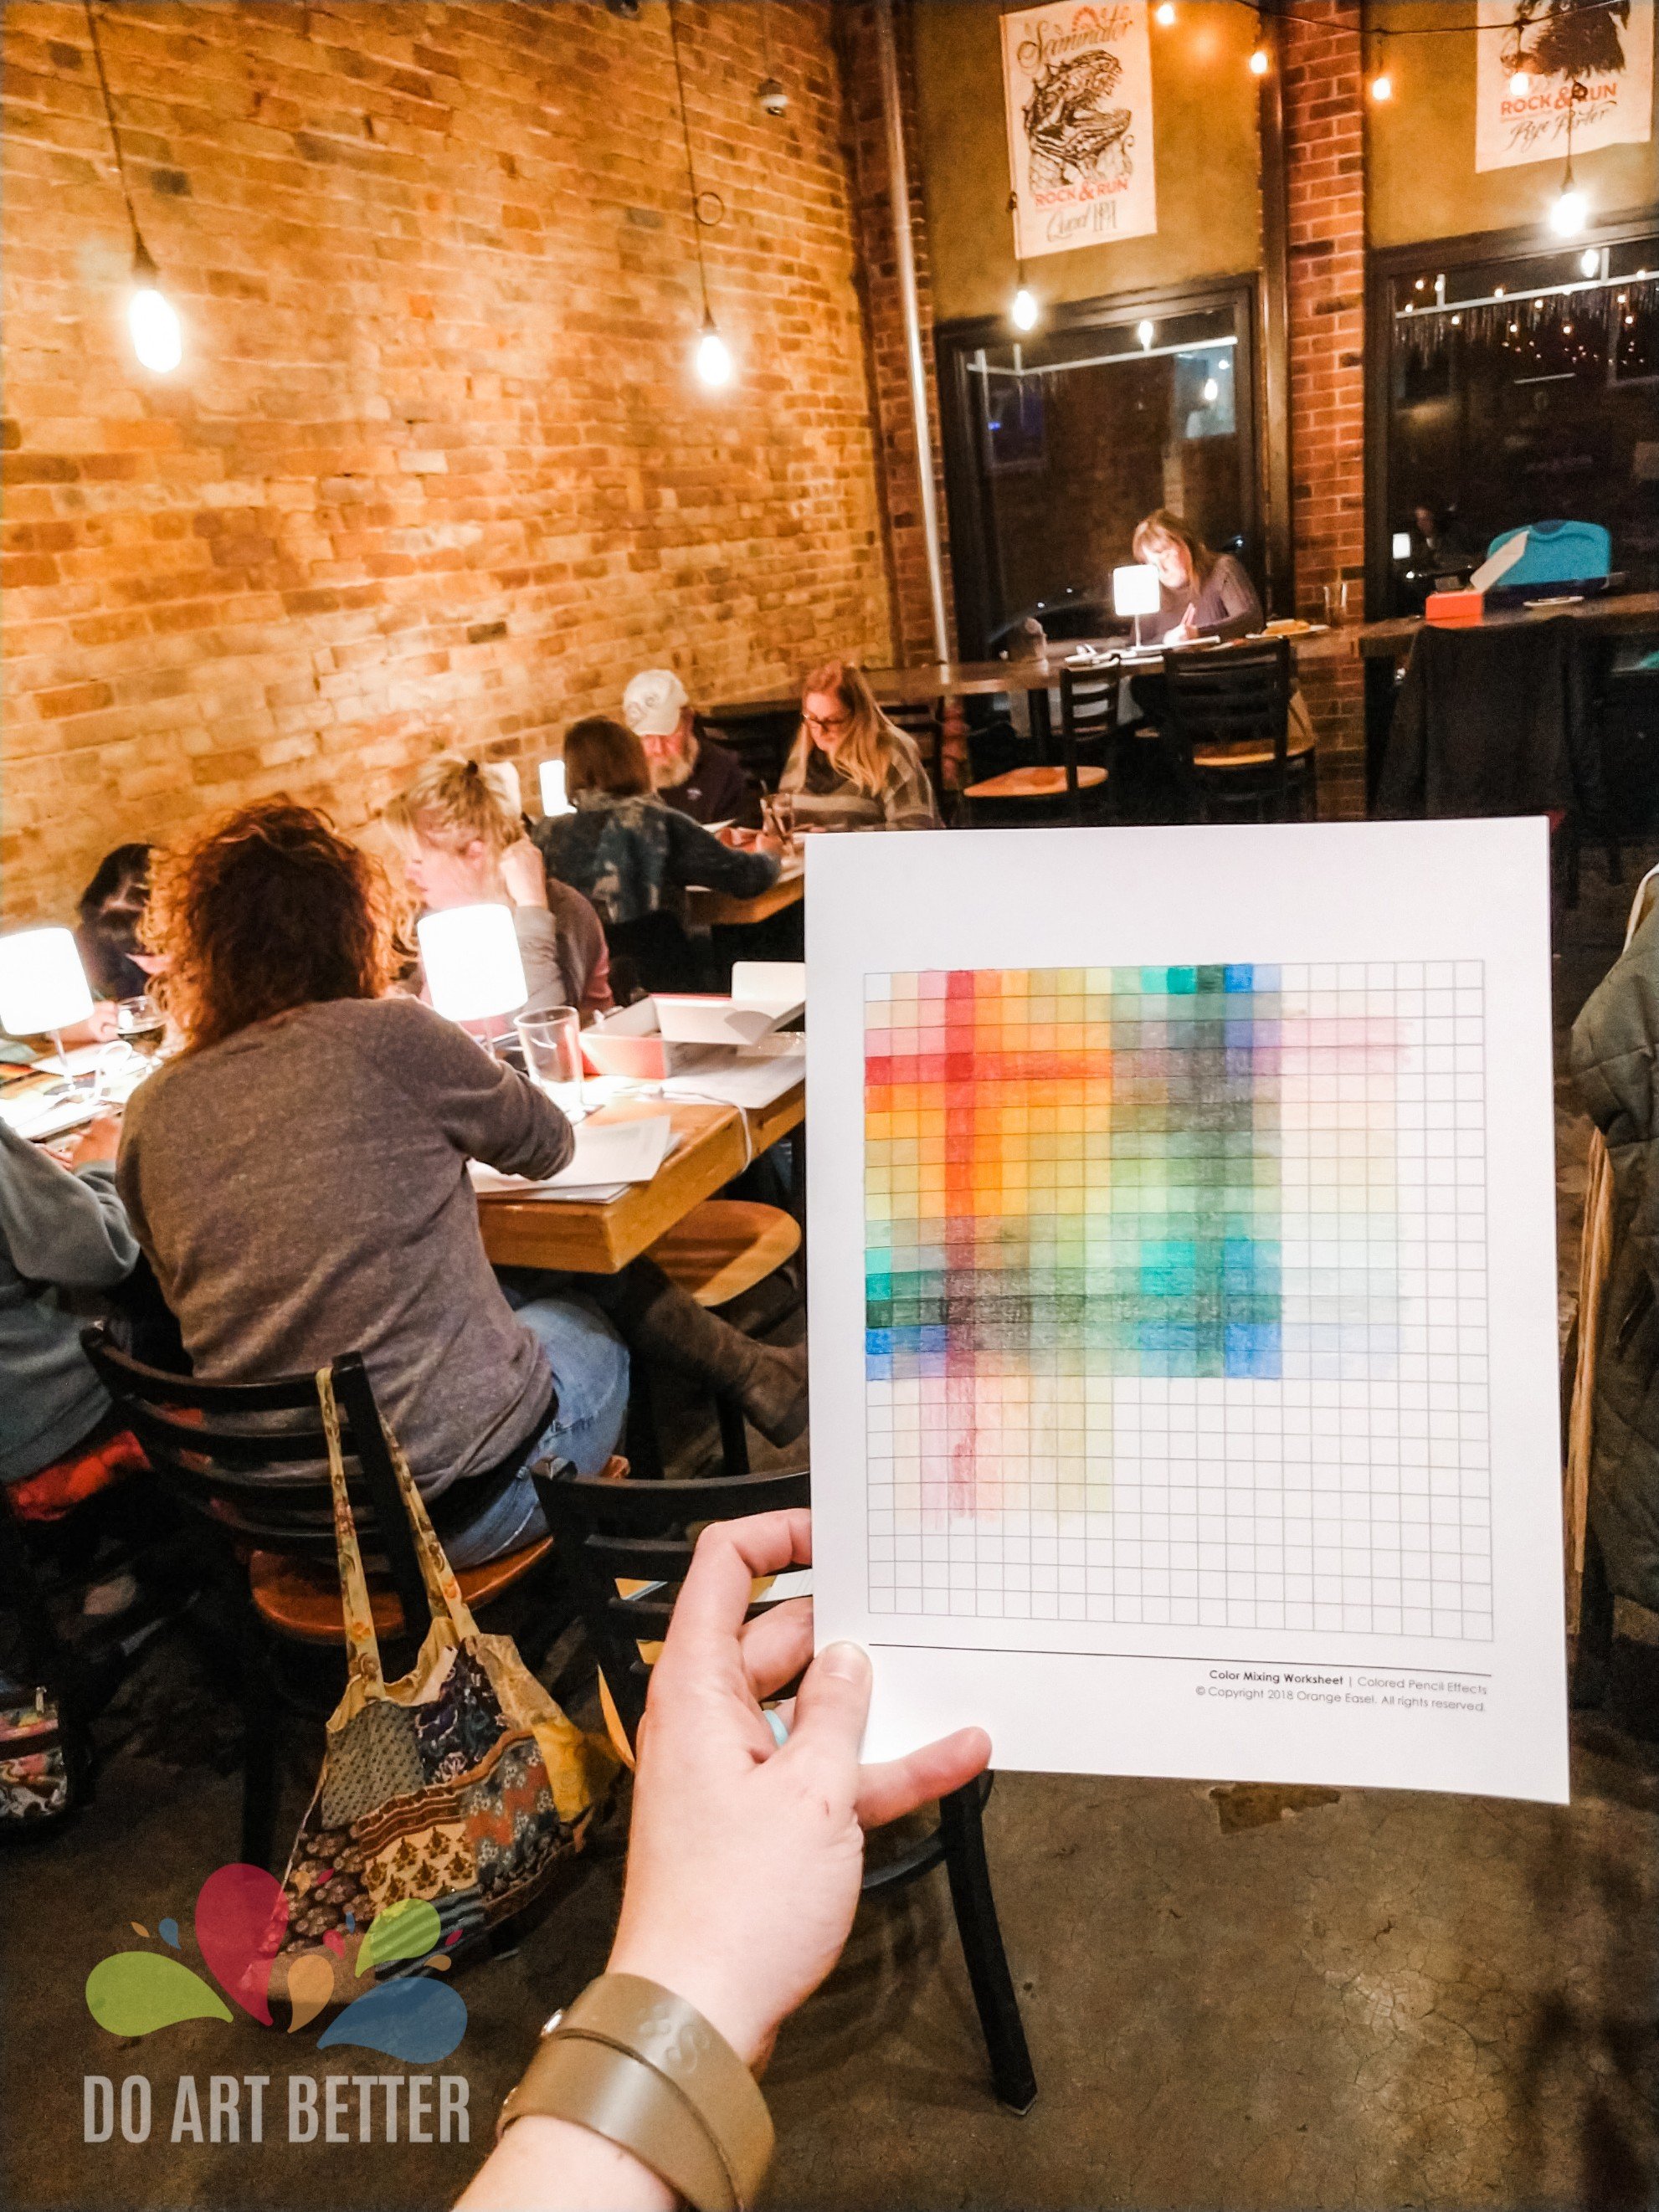
In progress. This is my adult coloring class that we held at the neighborhood brewery!

Starting with pencil #1, lightly color the entire first column from top to bottom.

The key here is to color LIGHTLY. We’re going to be building layers of color and if you start off too heavy, you can’t get the blended effect of the multiple layers.

Once you’ve got one light colored layer done with pencil #1 in column #1, then you’ll move onto to pencil #2 and column #2. Repeat this step until all the columns are filled. (If you have more columns than pencils, simple circle back around to pencil#1)

After all your columns are filled in lightly, you’ll begin the same process with the rows. Lightly color row #1 with pencil #1. Row #2 with pencil #2. And so on.

When you’ve finished your rows, go back to the columns again.

This is an exercise in patience as well! I think, each of my boxes have 10 layers of color!

After enough layers, you’ll see your boxes begin to look glossy (burnished) and that’s when you know you’re do

Colored pencil techniques and exercises. This exercise is a great way to practice your blending in a relaxing way and end up with a handy color-mixing reference sheet!

Not only is it a relaxing coloring exercise, it produces a pretty cool effect, AND it’s a great reference tool for future color mixing!

Have you ever done a color wheel or color reference exercise that you love? I would live to hear about!

Pin it for later:

Love adult coloring pages?  Check out this colored pencil technique. This exercise is a great way to practice your blending in a relaxing way and end up with a handy color-mixing reference sheet!

Playdough and Salt Dough Recipes

Salt Dough

Ingredients:

  • 1 C salt
  • 1 C flour
  • about a cup of warm water

Directions:

Mix together the salt and flour first. Then add the water alittle bit at a time. It might take the full cup and it might not! If you add too much water and it gets sticky, simply add more flour and salt.

Dump the dough onto a flour surface and knead for 3-5 minutes until smooth.

No-Cook Playdough

Ingredients:

  • 1 C flour
  • 1/2 C salt
  • 1 T cream of tartar
  • 1 T vegetable oil
  • boiling (or really, really hot) water…1/2-3/4 cup

Tip: If you want to add coloring to you playdough, mix it into the hot water.

Directions:

Mix together the dry ingredients and the oil. Then add the boiling water until a dough forms. Mix well.

Once it’s cool enough, turn the dough out onto a flour surface and kneed until smooth, about 3 minutes. Don’t skip this step!

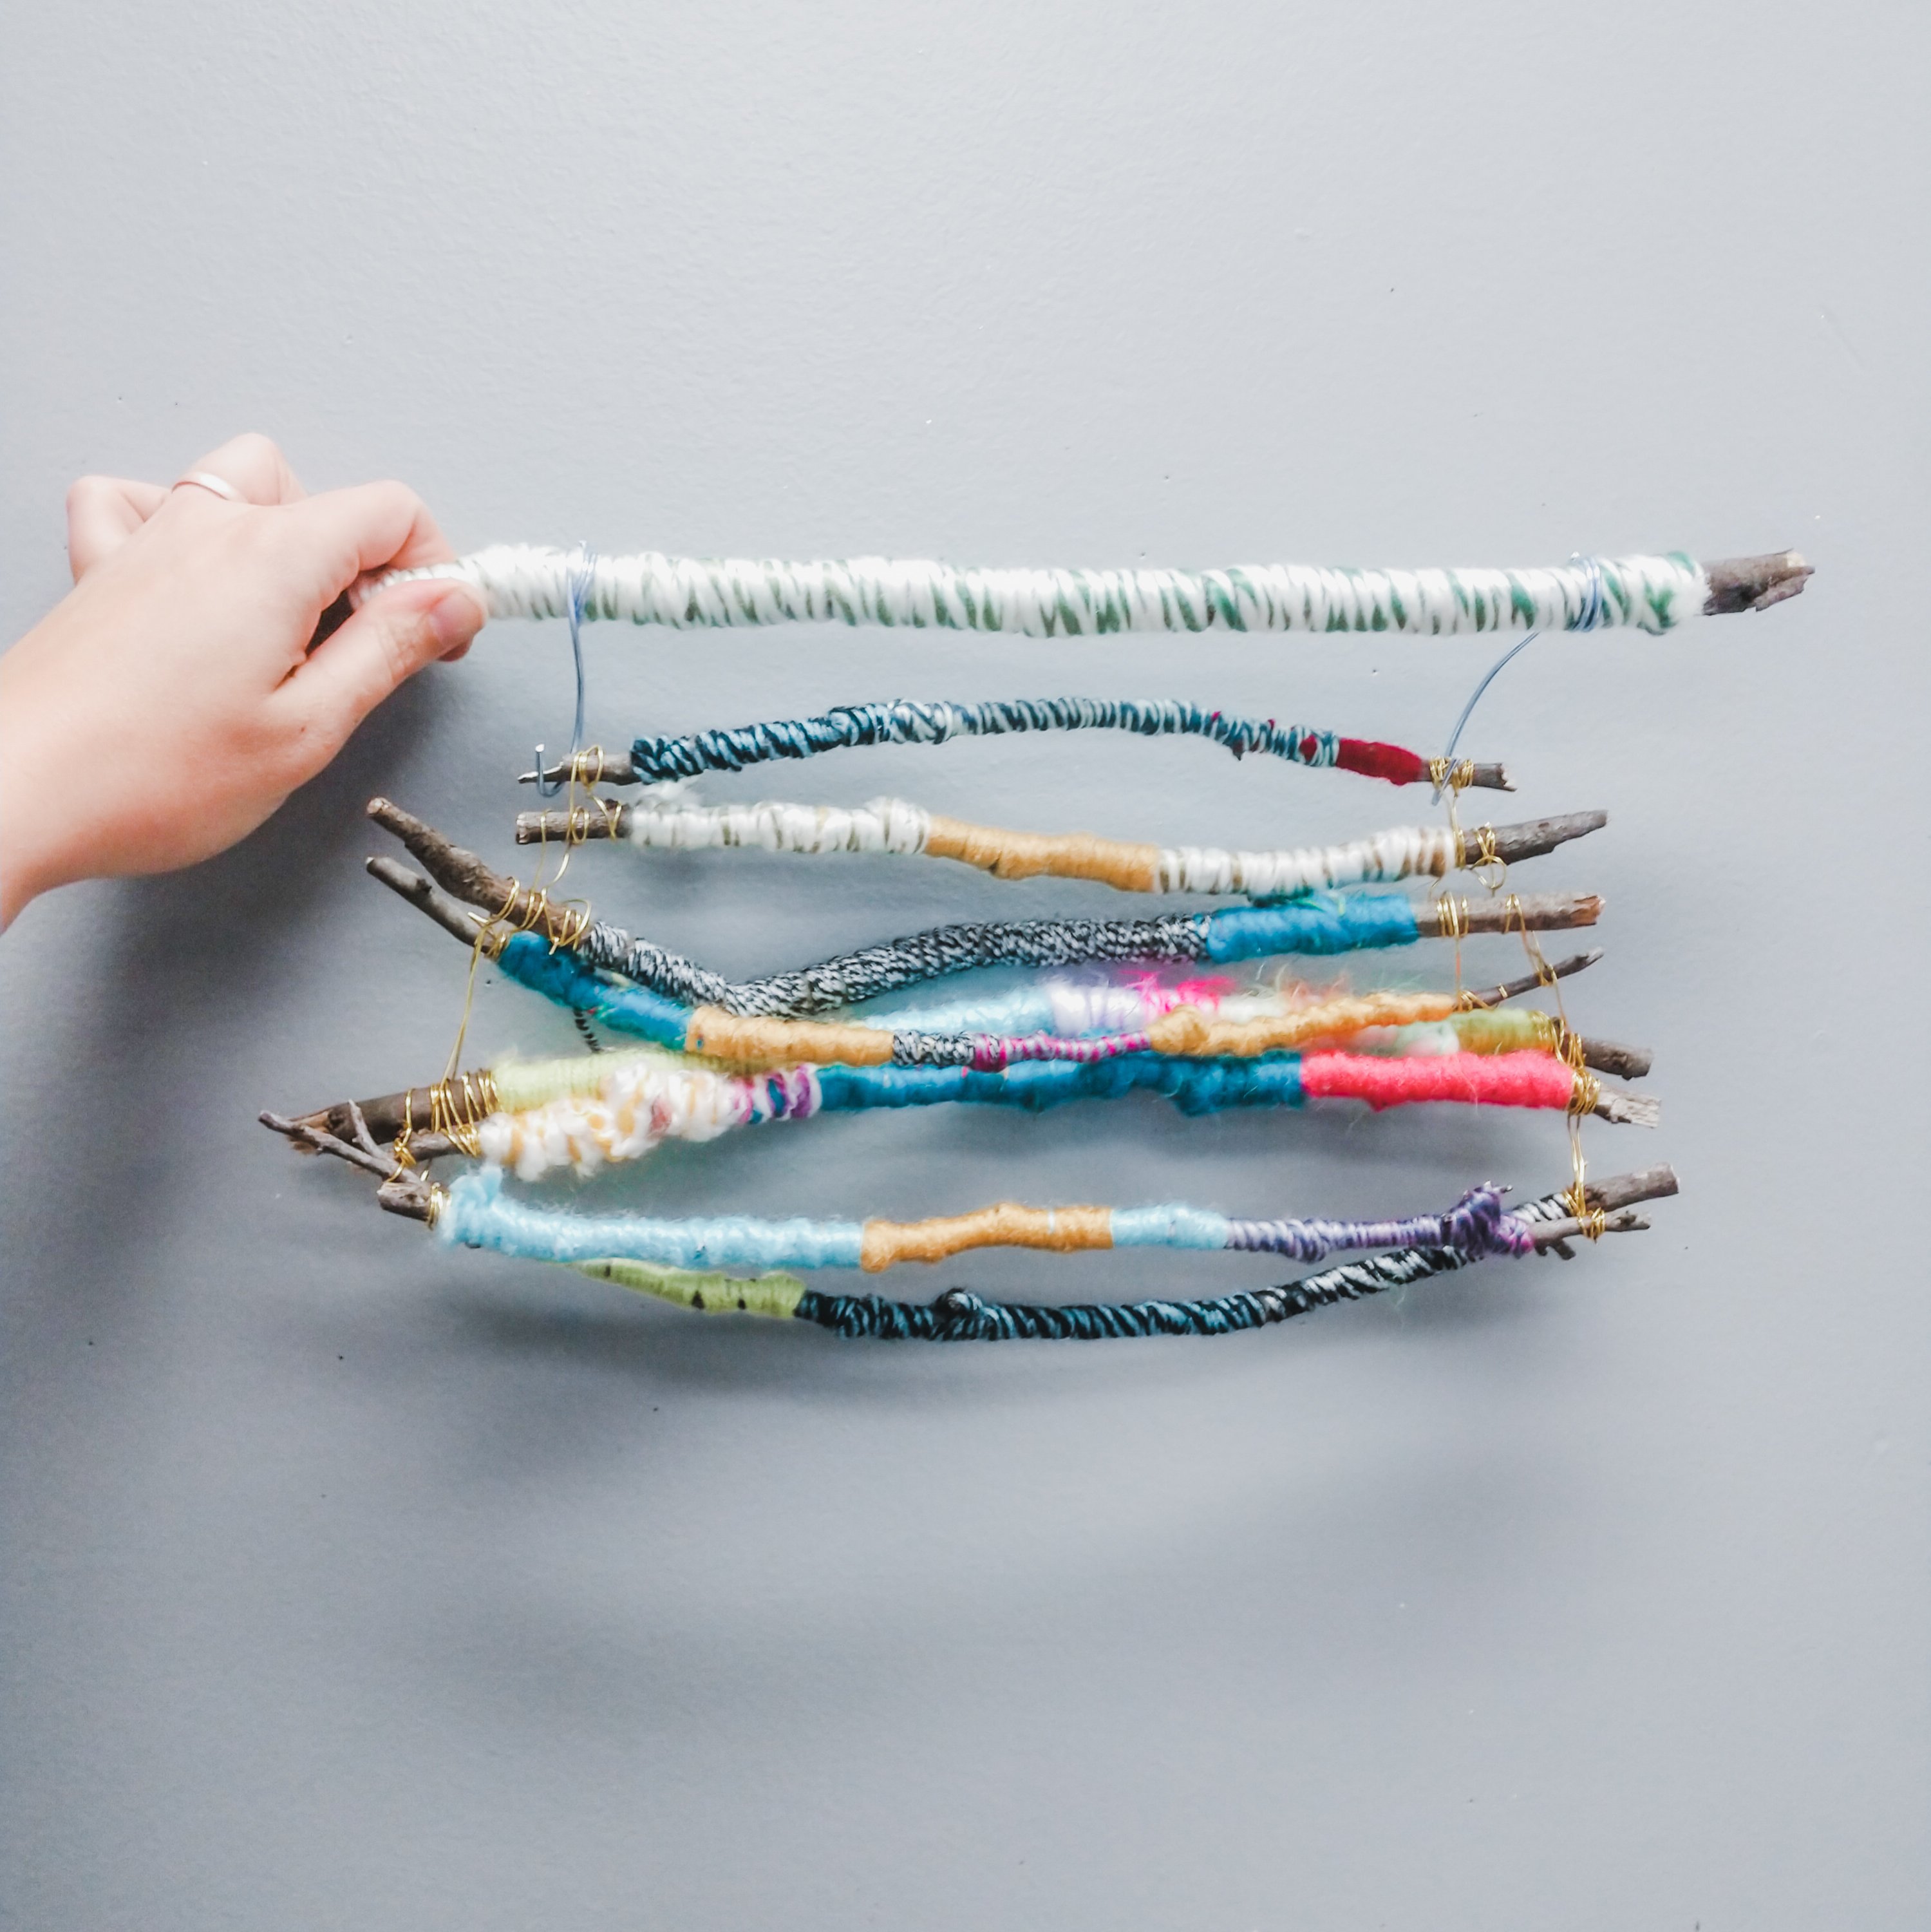
Yarn-wrapped Sticks become Collaborative Art

So, I have a vision for these babies.

Fiber Art + Nature Art for Kids - Yarn Wrapped Sticks [DoArtBetter.com]
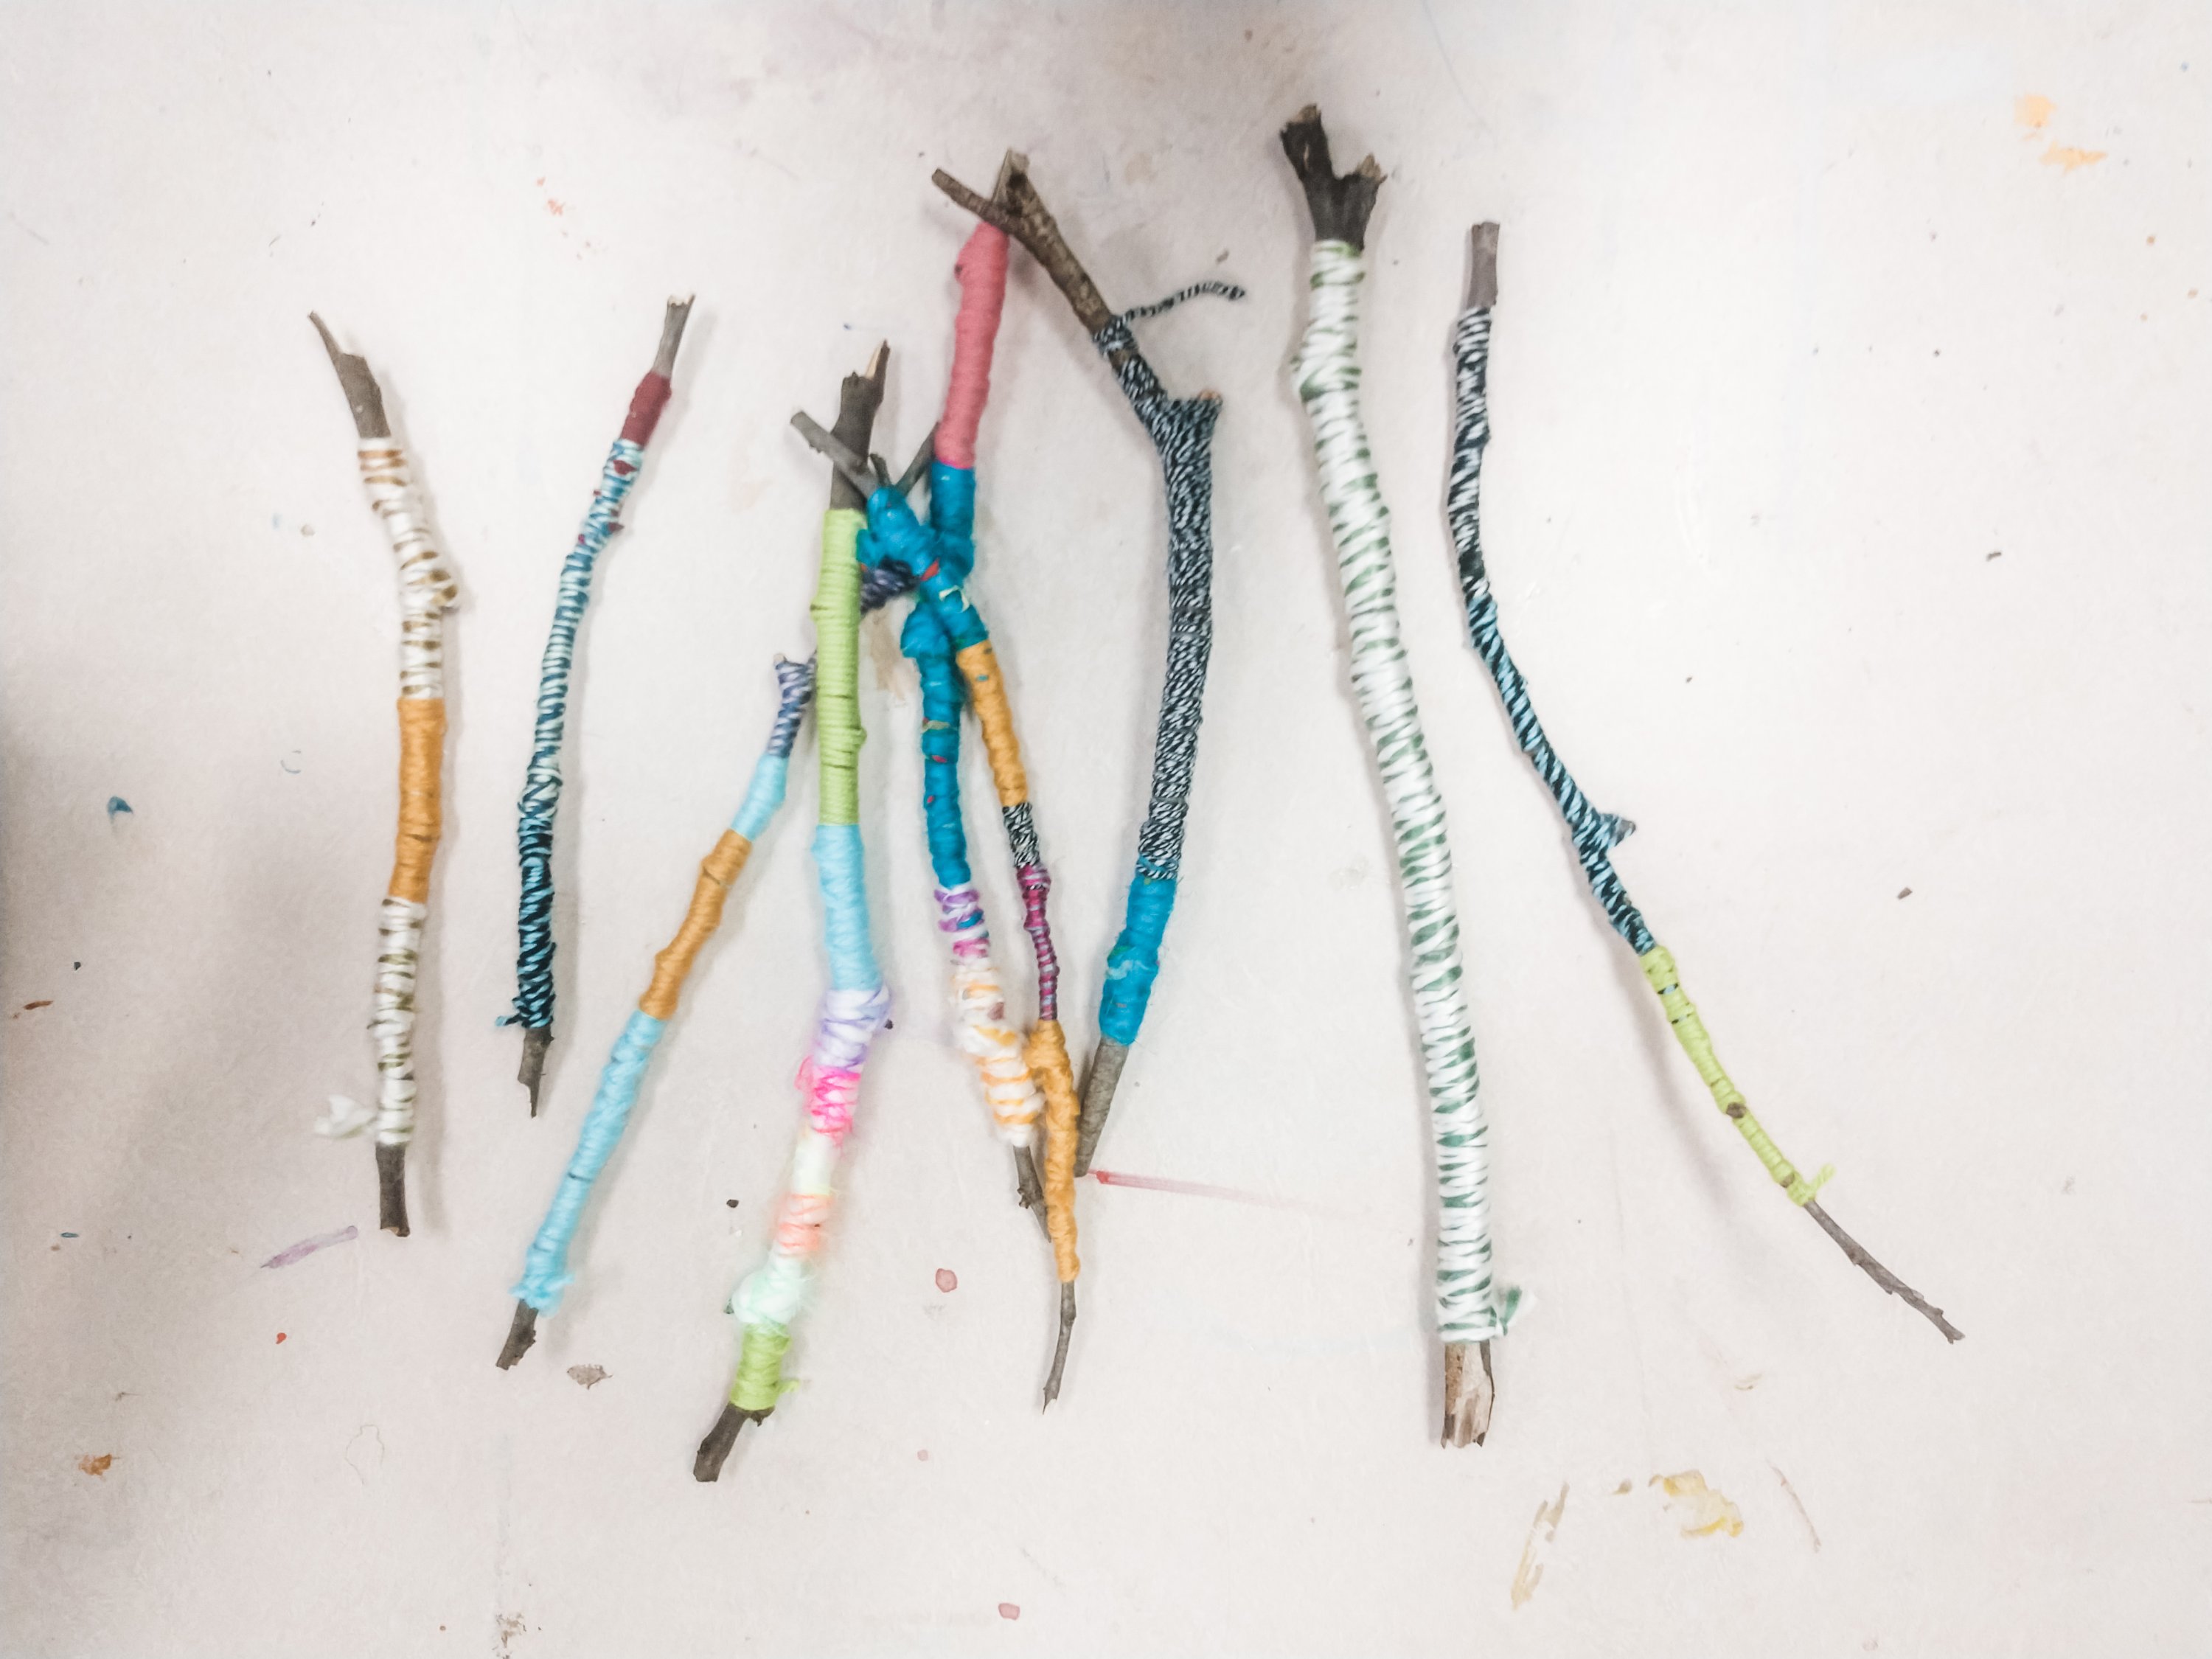
Yarn Wrapped Sticks

These sticks are about 10 inches long and nothing special. I collected them from my yard and wrapped them in some of our colorful yarn.

Collaborative Art Project

Later this month, we have the honor of participating in a local elementary school’s 5th Grade Celebration. This will be the fourth year we’ve traveled out of here studio to create something special with the graduates.

Last year we did a collaborative ocean-themed printmaking project.

Printing with kids on canvas - fish and underwater creature tapestry [DoArtBetter.com]

Collaborative Ocean Tapestry

This year, I want to do wrap sticks and weave them into a giant “tapestry.”

Here’s my test so far with just nine practice sticks.

I’m using a fine aluminum wire to bind them together in a figure-8.

So far, I’ve learned that I need to find straighter sticks!

Can you imagine what this will look like with 120 sticks?! (Mostly likely 3 “ladders” of 40 that we’ll weave together after they are all complete.)

I’m so excited!

3 Ideas for Outside Creativity

Want to make the most of this beautiful spring weather? Try taking CREATIVITY outside today! Here are three ideas to get you started:

? DRAW OUTSIDE – any drawing materials will work. We like sketchbooks because then the papers don’t blow away! Draw “big”, like the scenery you see in front of you. Or, draw “small”, like the details of a tiny flower you find or a small bug

? FIND TEXTURES – take a sheet of paper and a crayon or charcoal stick and find different textures. Place the paper over a tree trunk and then rub with the long side of the crayon. Next try the sidewalk, or the picnic table. Or a leaf! How many textures can you find? See if your friends can identify the textures!

? TAKE PICTURES – take the camera outside with zero pressure of making a great picture. Just have fun. Zoom out. Zoom in. Go on a treasure hunt. Teach the kids how to use the camera and notice how different their perspective is!

What will you do to be creative today? (Inside or outside!)

How to Talk to Children about their Art

Kids drawings are unique and personal.  How we address these artist expressions is important!

Ever struggle with what to say when a child shows you a picture they’ve drawn? Here are a few ideas to get you started:

• “Tell me about it!”
• “What inspired you?”
• “What materials did you use?”
• “Can you talk me through how you made this?”
• “I like looking at your art.”
• “I love hearing you talk about your art.”
• “If you were to do it again, would you do anything differently?”
• “Did you discover anything new as you were making this?”
• “Do you which part attracts my attention? I noticed THIS part first because…”

What phrases do you use to talk about art with your kids?